
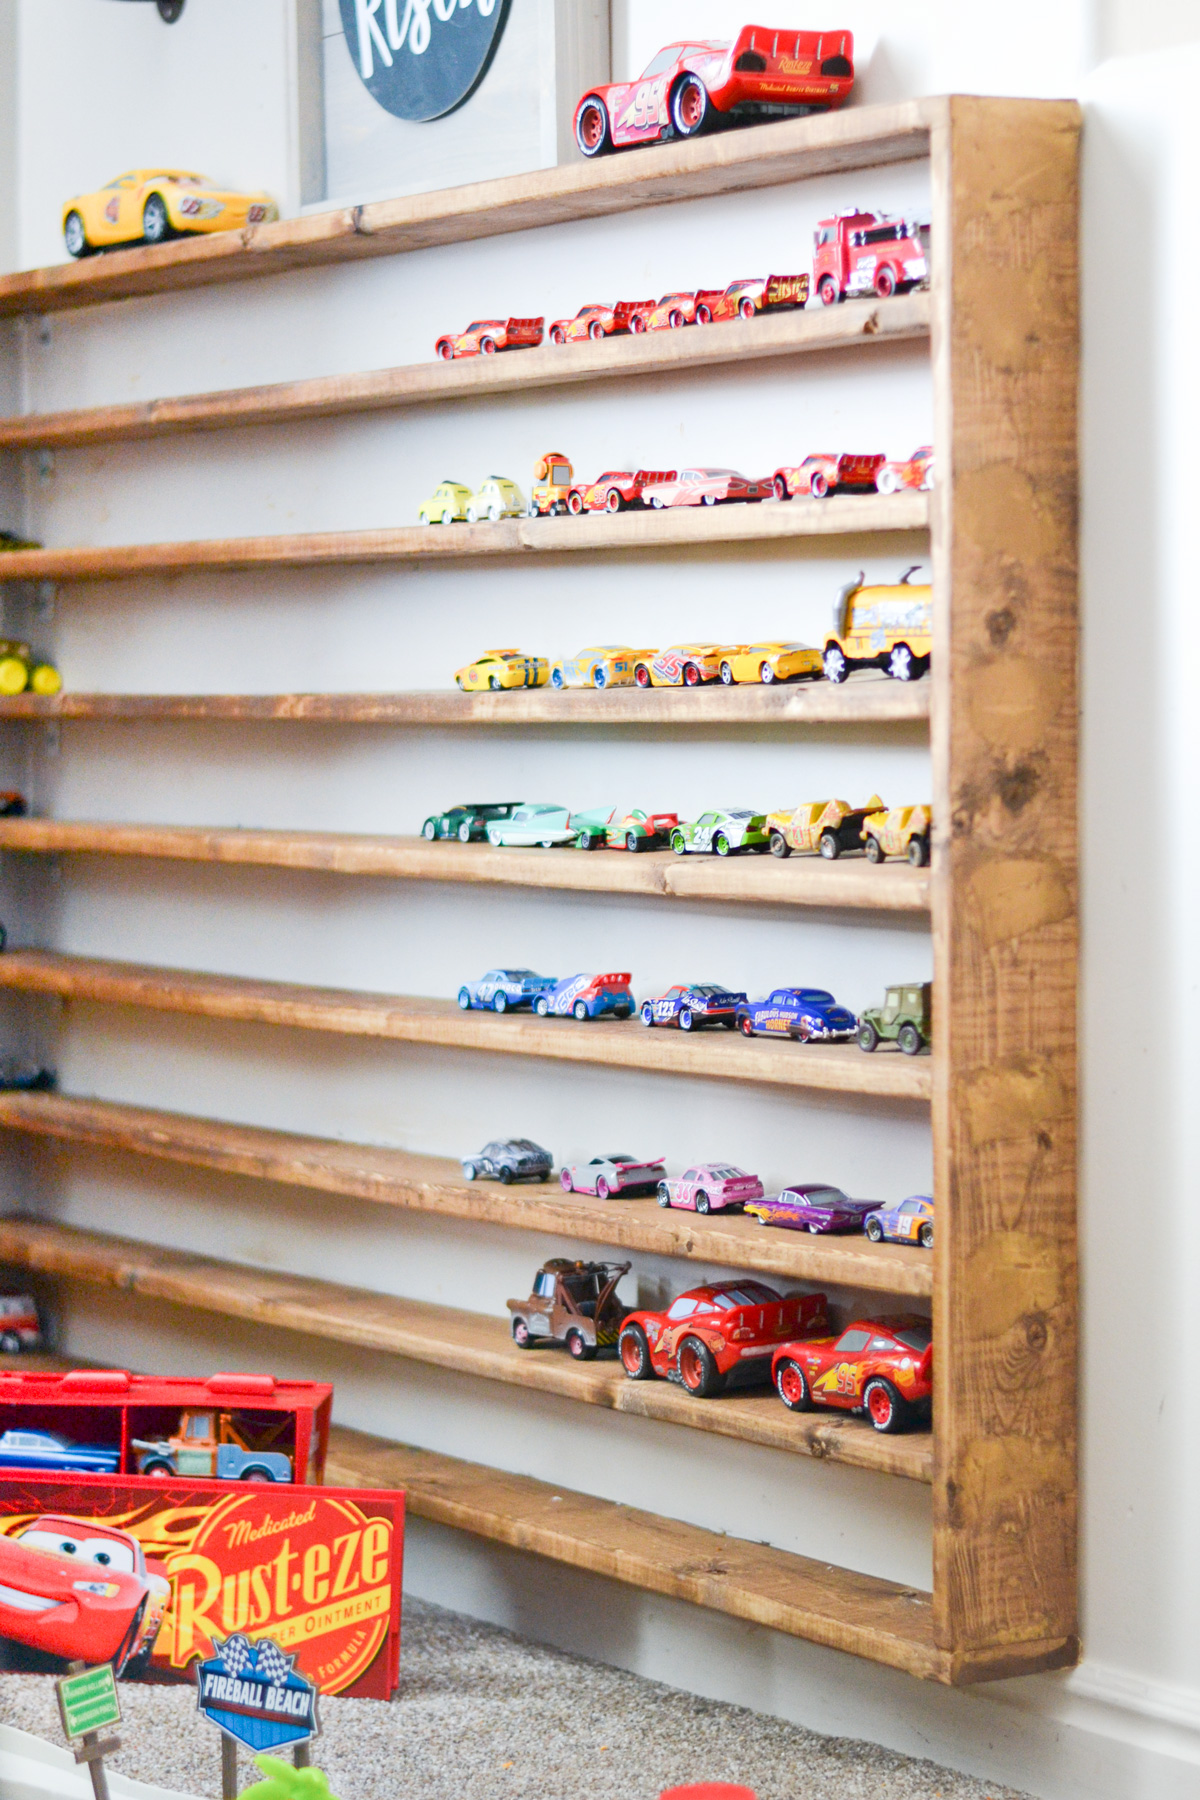
Is your child obsessed with Matchbox Cars and you don't know where to put them? I've got an easy way to make your own Hot Wheels storage display that any cars crazed kid will love.
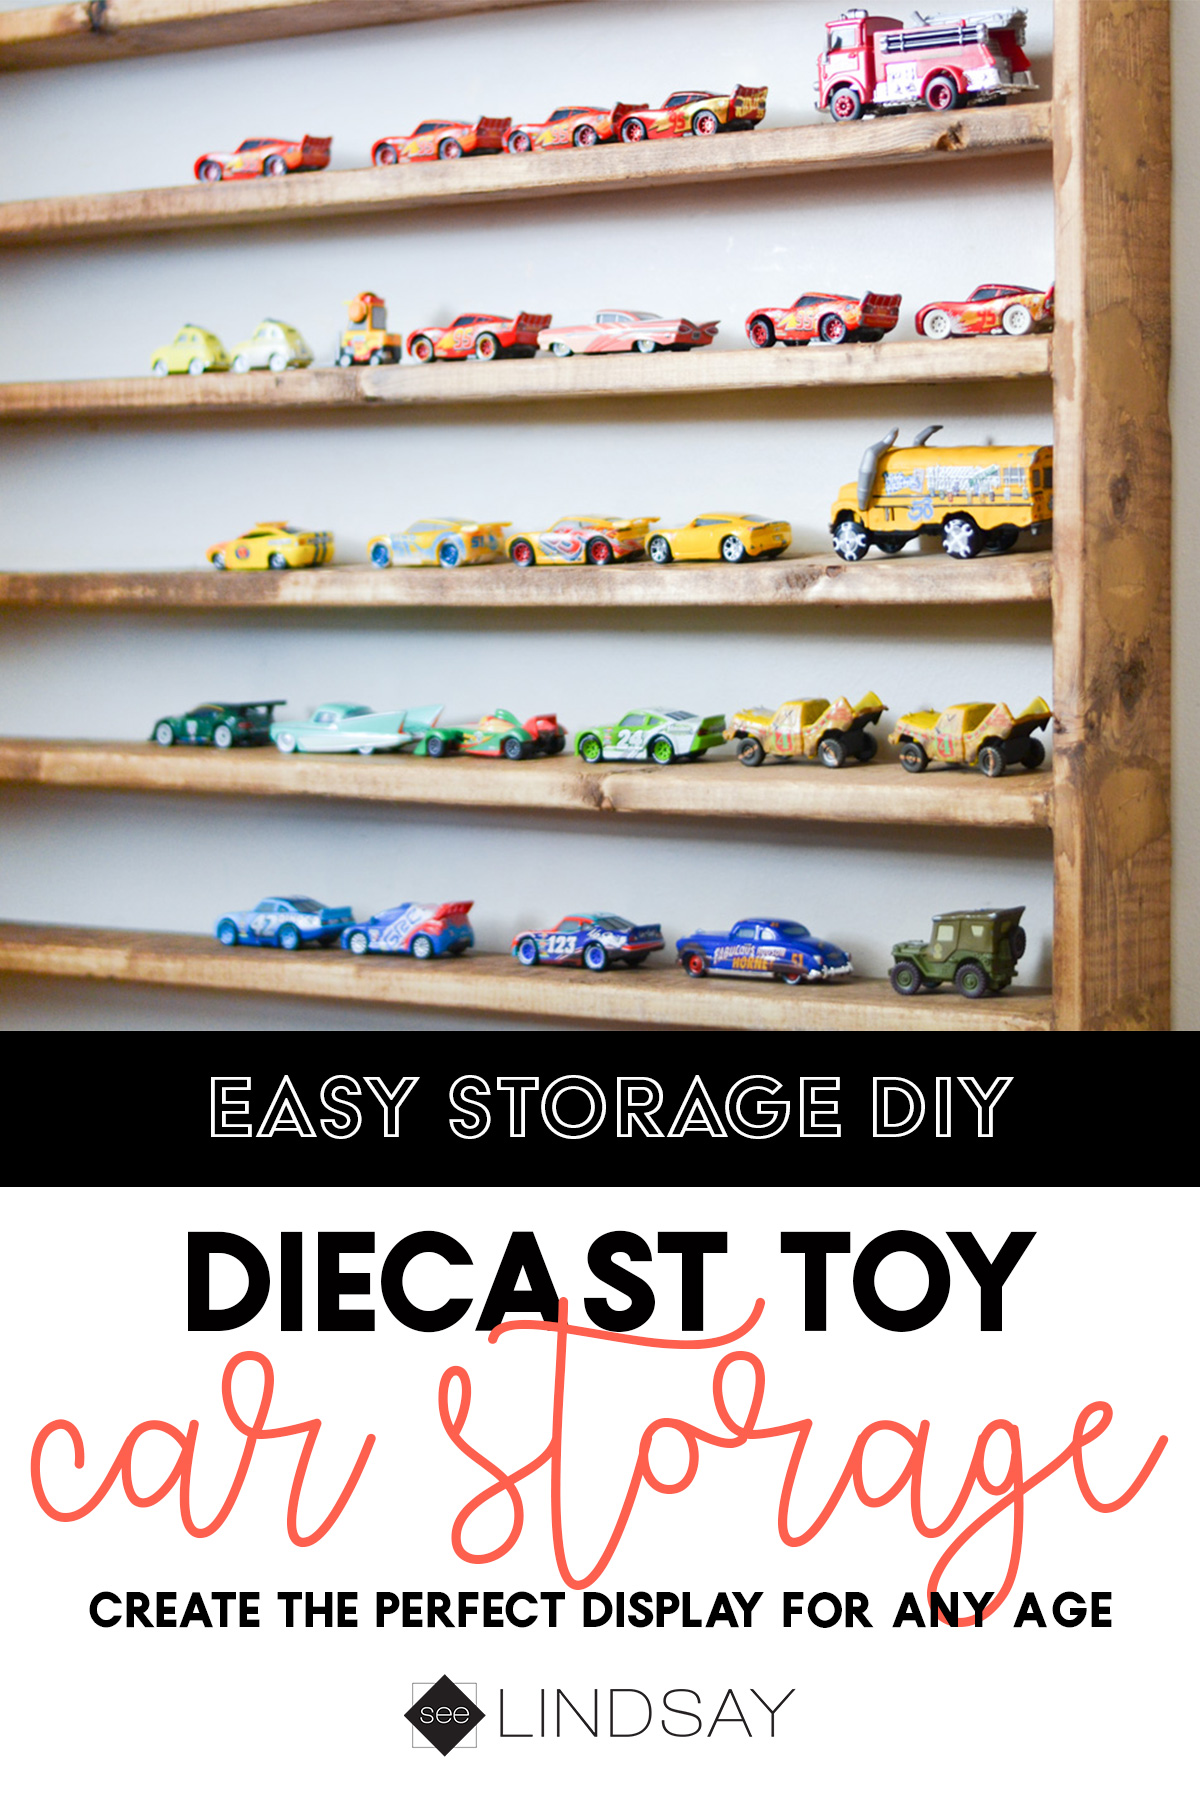
Malakai is crazy for his cars and he has a bit of OCD tendencies when he wants to arrange them. They've got to be facing the correct way and he wants to know they're going to stay that way. My husband and I came up with this toy car storage solution so that I won't have cars all over my desk and they can be displayed just how he likes them. Create this Hot Wheels storage to make your life a little easier like it's made mine.
If you didn't know, Malakai was born premature so he really does have OCD tendencies when it comes to really anything. He will cry for longer than I like to admit and so for my sanity this had to happen. We also have about a 1500 sq. ft. house and so a large toy car storage solution isn't very practical for us.
We used some inexpensive 3X.5″ planks and some L brackets to set this up. My husband also decided to give his brother my Ryobi nail gun so this was done the old-fashioned way with some nails and good ole elbow grease and some math. I'm glad it's up though because his toy cars were getting out of control.
Supplies for your DIY Toy Car Storage
- 3X.5″ Wood Planks
- L Brackets
- Nails and Hammer or Nail Gun
- Wood Putty
- Mouse Sander and Sand Paper
- Wood Stain
- Cheesecloth
- Drill
- Wall Screws
How to make a Display for your Diecast Cars
We began by measuring the small area of our corner. Our cutout on this wall is 34″ high and so we began by figuring out how high we wanted it to go. I didn't want it to be exactly where the wall cut off so we measured and cut two boards 32″ high as
We then measured how wide we needed the wooden planks for your car toy display. The other side of this corner wall is a large window so one side was longer than the other. The width on the smaller length of the wall is 34″ wide and on the longer side we cut the boards to be 50″ wide.
Cut your wood planks to those lengths and then cut one side on each board on a 45-degree angle to create the corner pieces and so that they'll match flush.
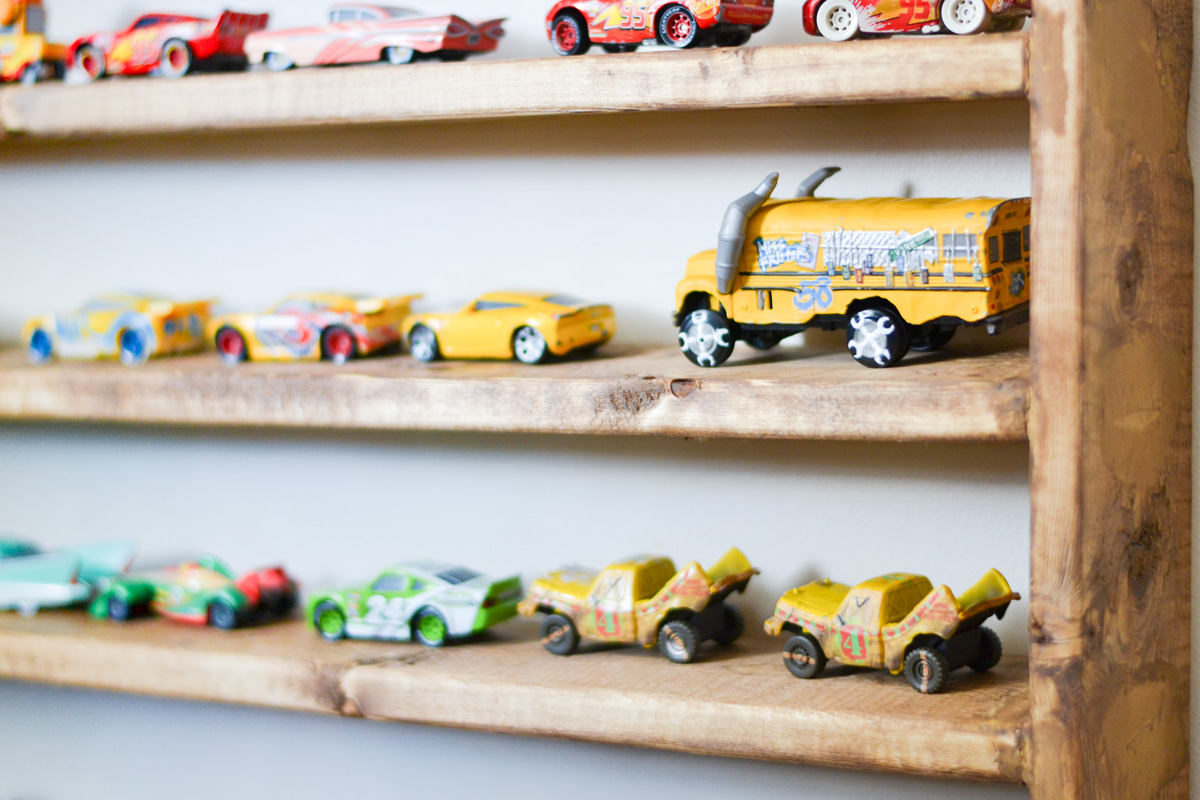
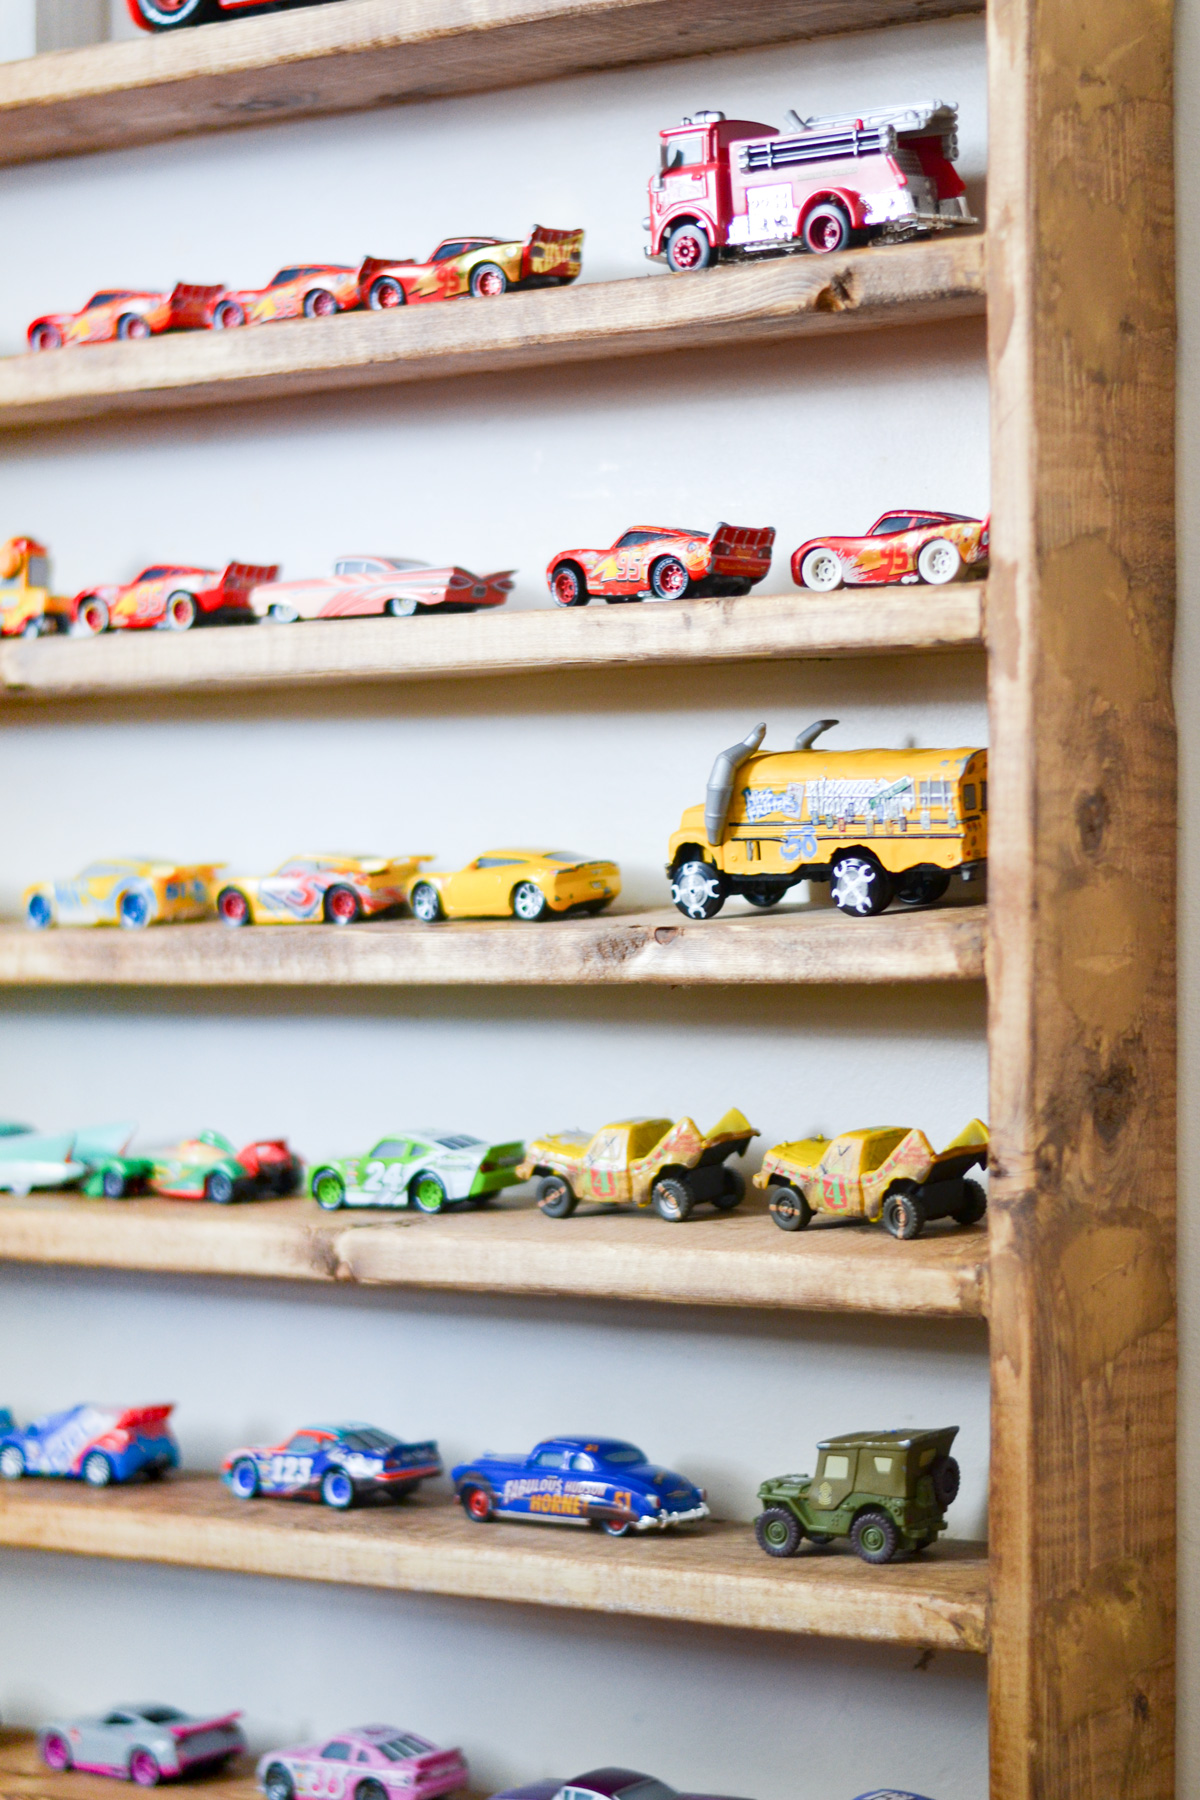
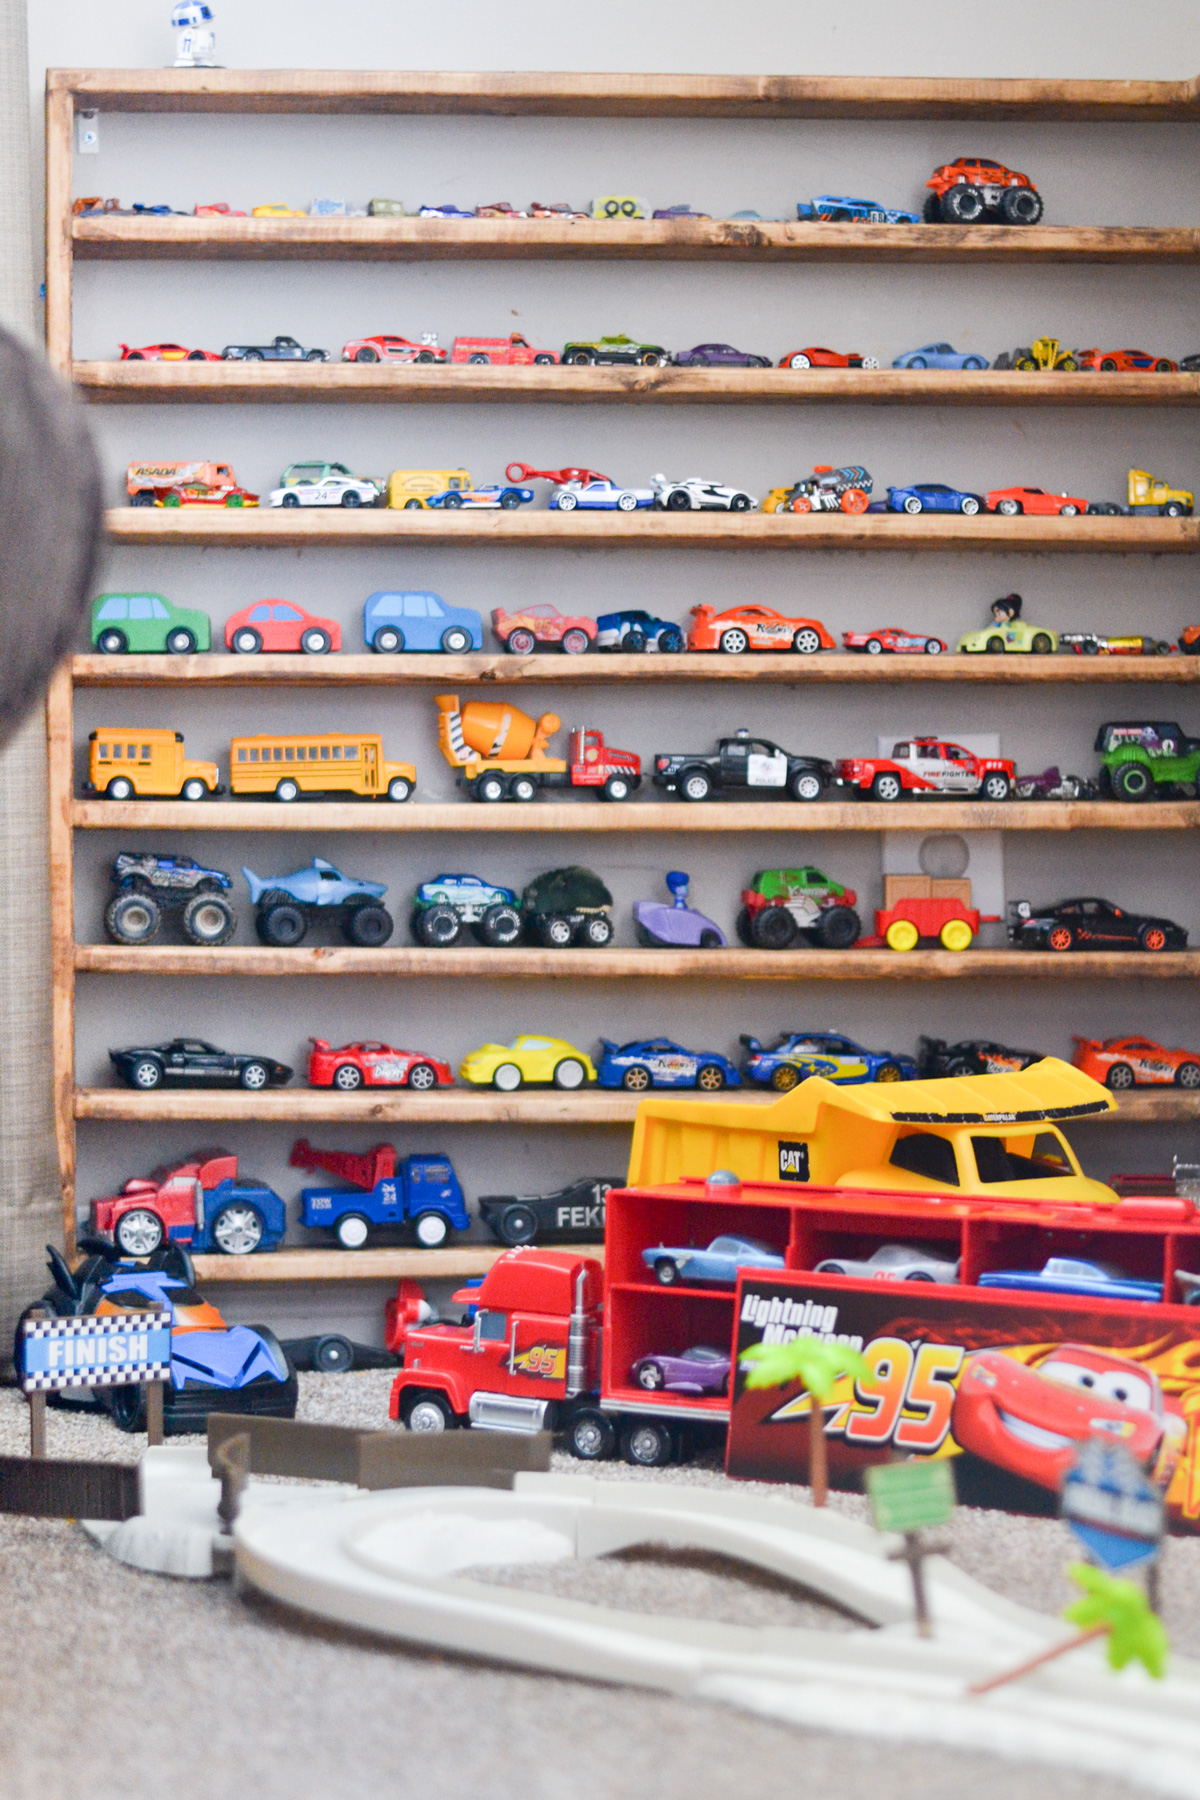
The base of our toy car display is right on top of our baseboard. He can have cars on the floor and then build up the car display case and place them on each shelf having their eyes look right at him and he's as content as can be.
How to attach your Hot Wheels Storage to the Walls
In the corners, we used the L Brackets so that the boards would not bend and they were supported. You can use a Kreg Jig but don't ask me how to do it. This isn't so much a permanent fixture in our home so I wanted it just to be up and something that can easily be taken down for when we move.
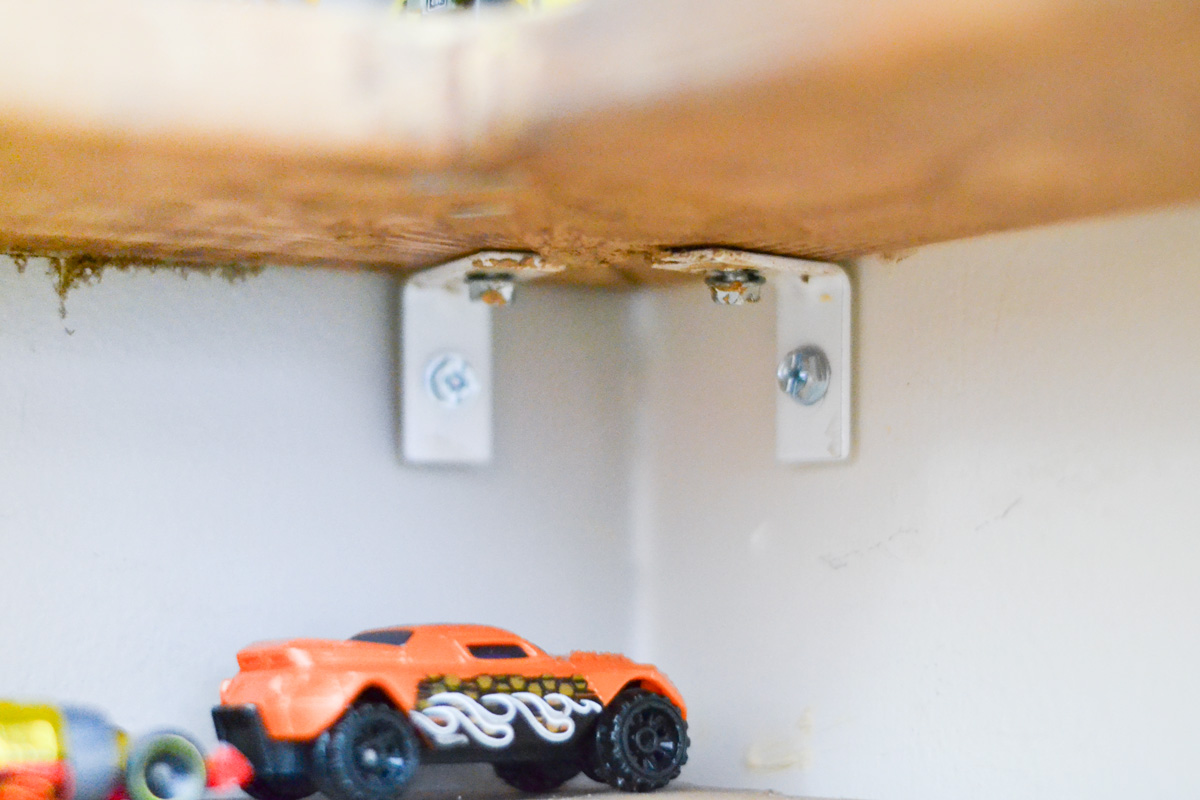
Secure one side of the bracket to the board before you assemble completely. Put two on each corner piece. Each board is 3″‘ apart, Use some finishing nails and secure the wooden planks together and then use your wood filler to fill in the nail hole and seams.
Wait for it to dry and then sand the wood filler as smooth as possible. Use a mouse sander because that'll cut your time in half with that tool alone.
One thing we didn't do while it was off the wall was stained it and that was the worst mistake we made. Stain your wood using some mixed stain and a cheesecloth. Wipe it on your wood and let it sit for a few minutes then wipe with a clean cloth.
And just so you know, I did have to wait until Malakai was at the babysitter before I could arrange the cars the way I wanted them to look. They're already on the floor. LOL

- Free Coffee SVG Files – Boom! Roasted - October 5, 2021
- Free Beer SVG Files – “It's What's For Dinner” - September 7, 2021
- DIY Back to School Banner with Cricut - August 13, 2021


Hey, Let's Chat!