
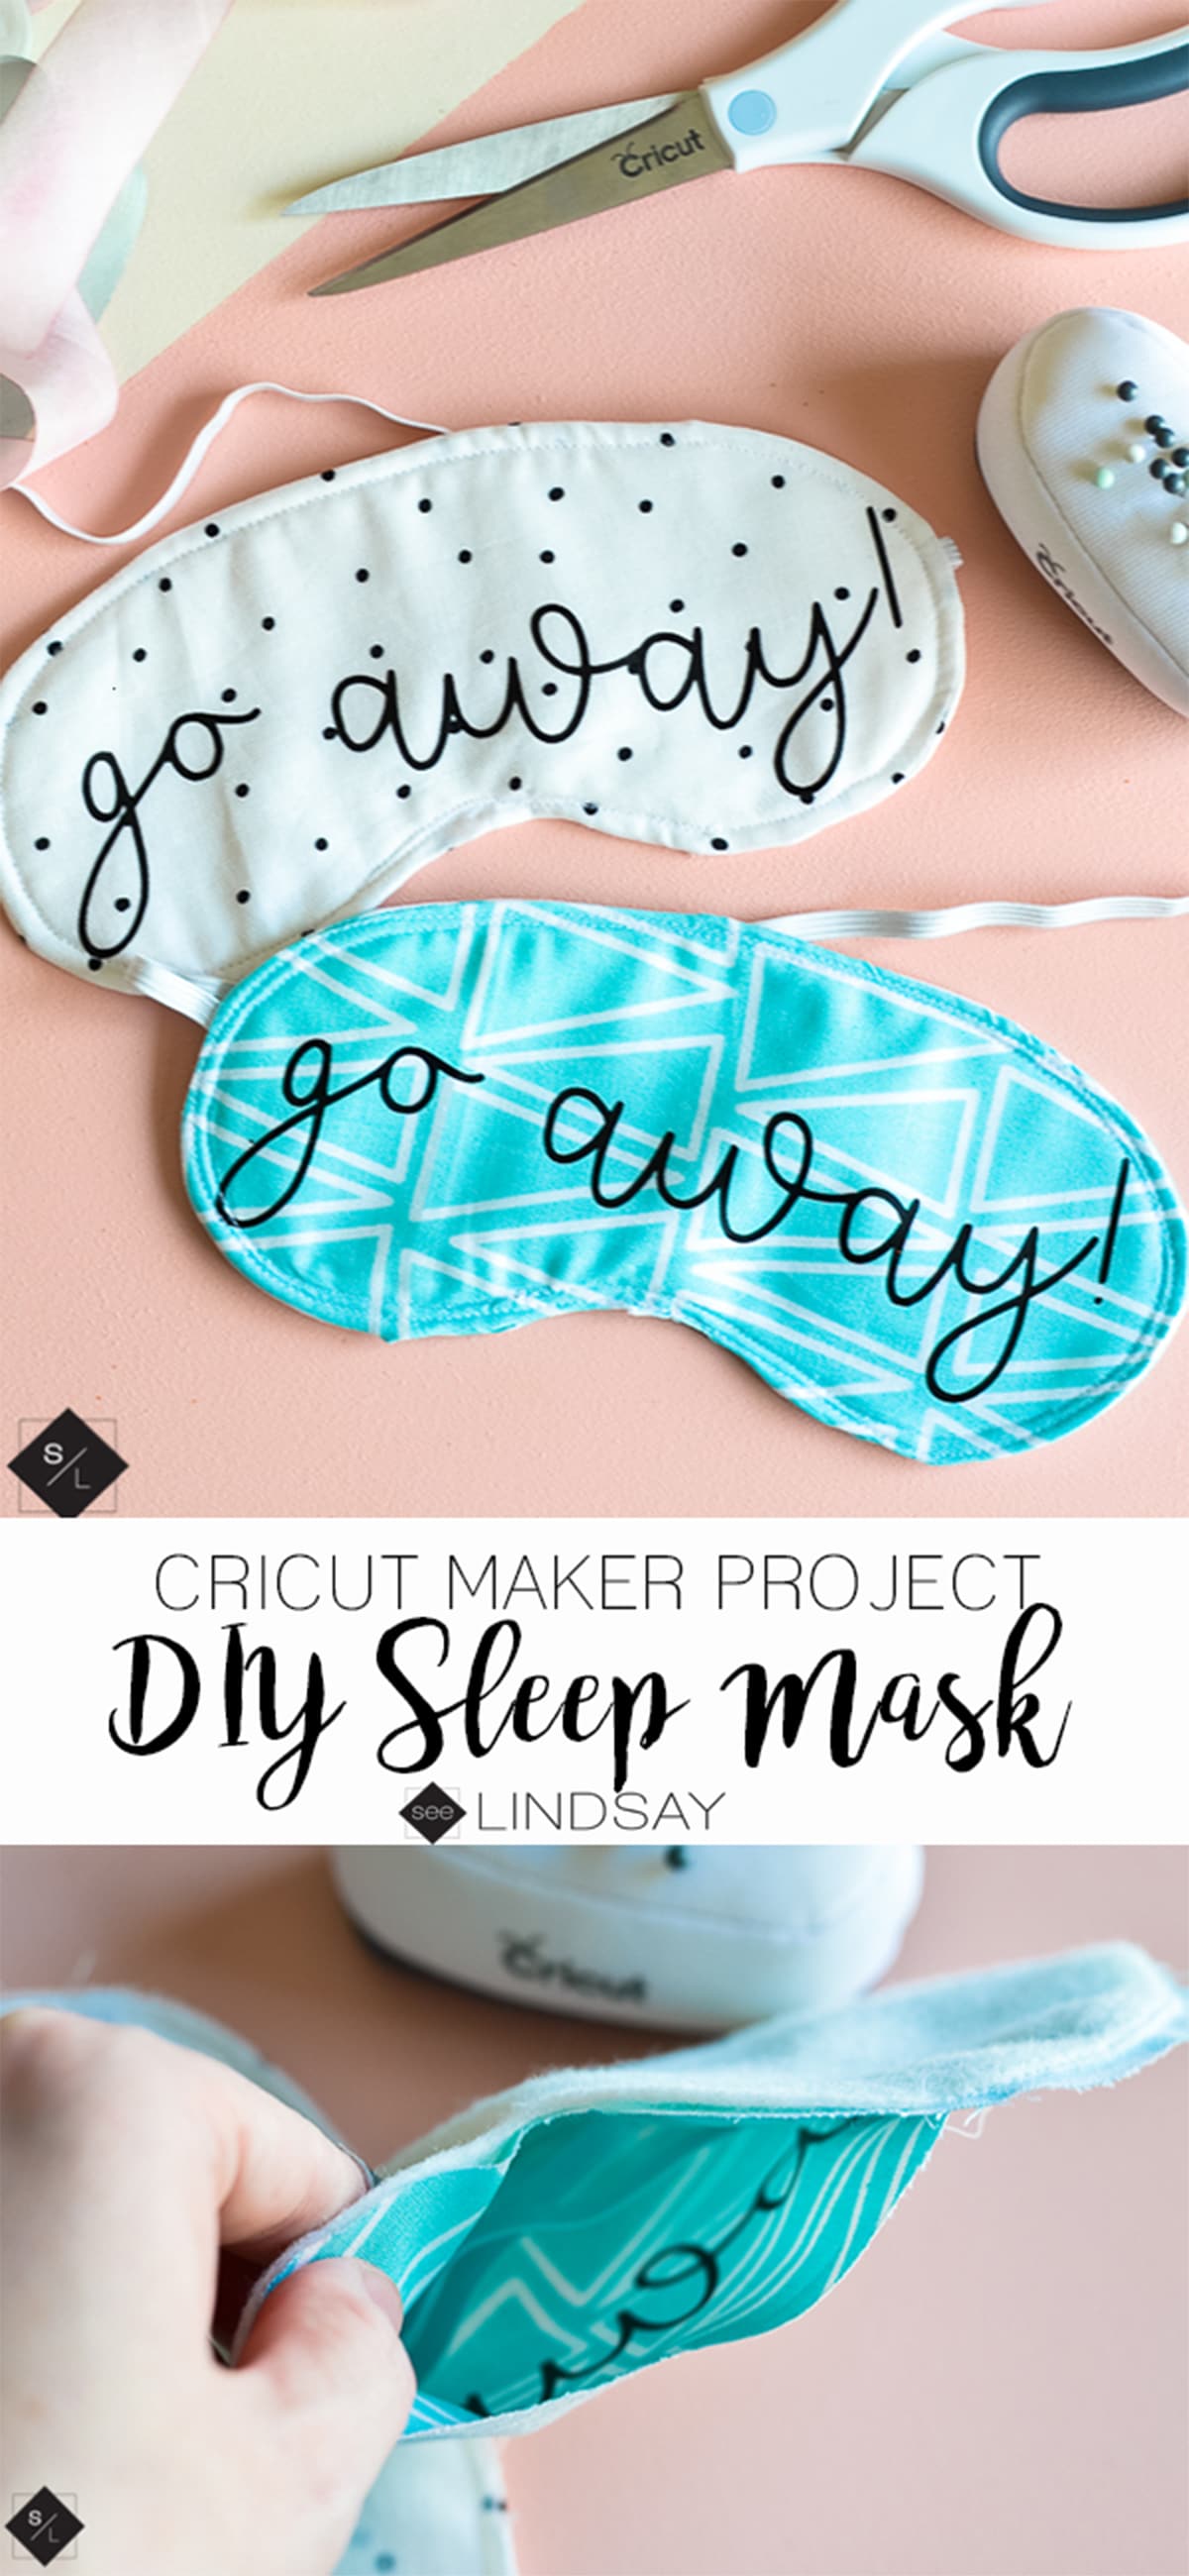
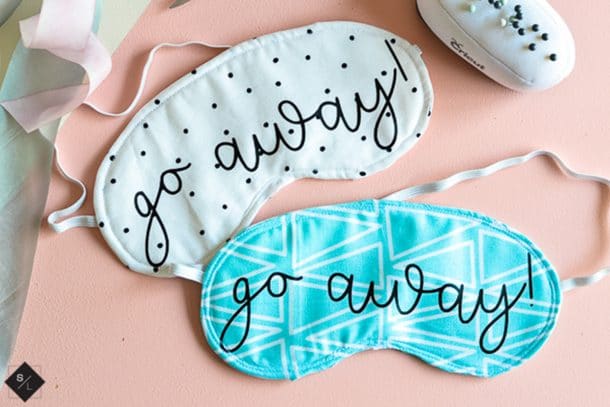
Go Away! Not really but that's what I want to tell people when I'm trying to sleep. Create this DIY Sleep Mask using your Cricut Maker and grab the free cut file to use with any cutting machine.
There is nothing more important than taking care of yourself. I'm joining in with a few other bloggers to share different ways to take care of yourself and to show you other self-care items you can make with your Cricut. Jessica with The Do It Better Yourself Club has released a fun woman's pajama pattern and to celebrate she's put together a free ebook with all of our projects. Check it out here.

Supplies for your sleep mask
- Cricut Maker or Silhouette Cameo 4
- Felt interfacing
- 12×12″ piece of cotton fabric
- Elastic band to fit your head
- Iron-On Vinyl
- EasyPress, Heat Press, or Iron
- Weeding Tool
- SVG files below or hand-cut the sleep mask pattern
Begin by uploading the Go Away! png and the eye mask SVG file into Design Space or Silhouette Studio. You can use this method here to learn how to upload a PNG into Design Space or it's pretty straight-forward when you hit upload, just follow the onscreen prompts.
Cut your interfacing to size so that it will fit your electronic cutting mat. When cutting fabric, you want to have it right side down. Use your rotary blade to cut both the interfacing and the cotton material.

Now cut your Go Away! image using a coordinating color of Iron-On Vinyl. When cutting the vinyl, be sure to mirror your image and to use the fine tip blade. Apply your image to your sleep mask before you start to assemble it. Use an iron using these settings or use your EasyPress at 305°F and press for 25-30 seconds.
Warm-up your surface first for 10 seconds, press and then turn it over and press again for 10 seconds then peel.

Take your cotton front and place the elastic band so that the ends are meeting with the ends of the mask. Pin the elastic in place.
Now take your other cotton piece, right sides facing together, and lay your felt interfacing on top. Sew a 1/4″ seam 3/4 around your DIY sleep mask.

Turn it so that the cotton pieces are facing out and your elastic band is secured. Press the mask so that it lays flat and tuck in your fabric edges that weren't secured originally.

Topstitch over the sleep mask completely and you're set to have the best night sleep of your life! For me, sleep is always hard, because, with Fibromyalgia, your brain never shuts off. My mind is always going and I seriously have the weirdest dreams.

Using a sleep mask (and some Tylenol PM) is really the only way that I know how to get a good night's sleep. Everything is dark and I have zero distractions. It's pretty easy now but it has taken a long time to get to this point.


- Free Coffee SVG Files – Boom! Roasted - October 5, 2021
- Free Beer SVG Files – “It's What's For Dinner” - September 7, 2021
- DIY Back to School Banner with Cricut - August 13, 2021


Stephanie says
They turned out so cute! How could you be mad at someone for taking a nap in these 🙂
Lindsay says
Right! That’ll be my excuse when my kids wake me up 😉
Katie Skiff says
Cute idea – I may make for myself!! lol
Lindsay says
I made these for me 😉
Tamar Noel says
Love how easy this is. I made one for my husband and while my sewing skills need work, he like it just the same. Thanks so much!