
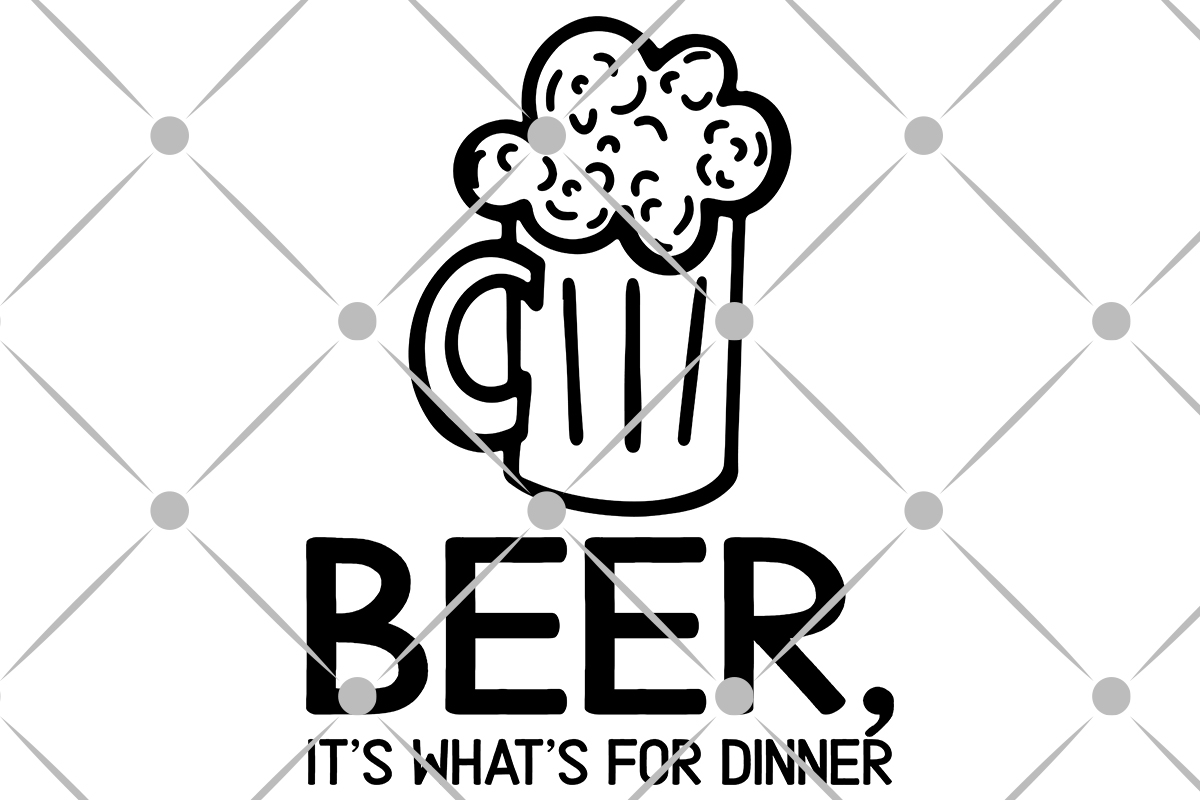
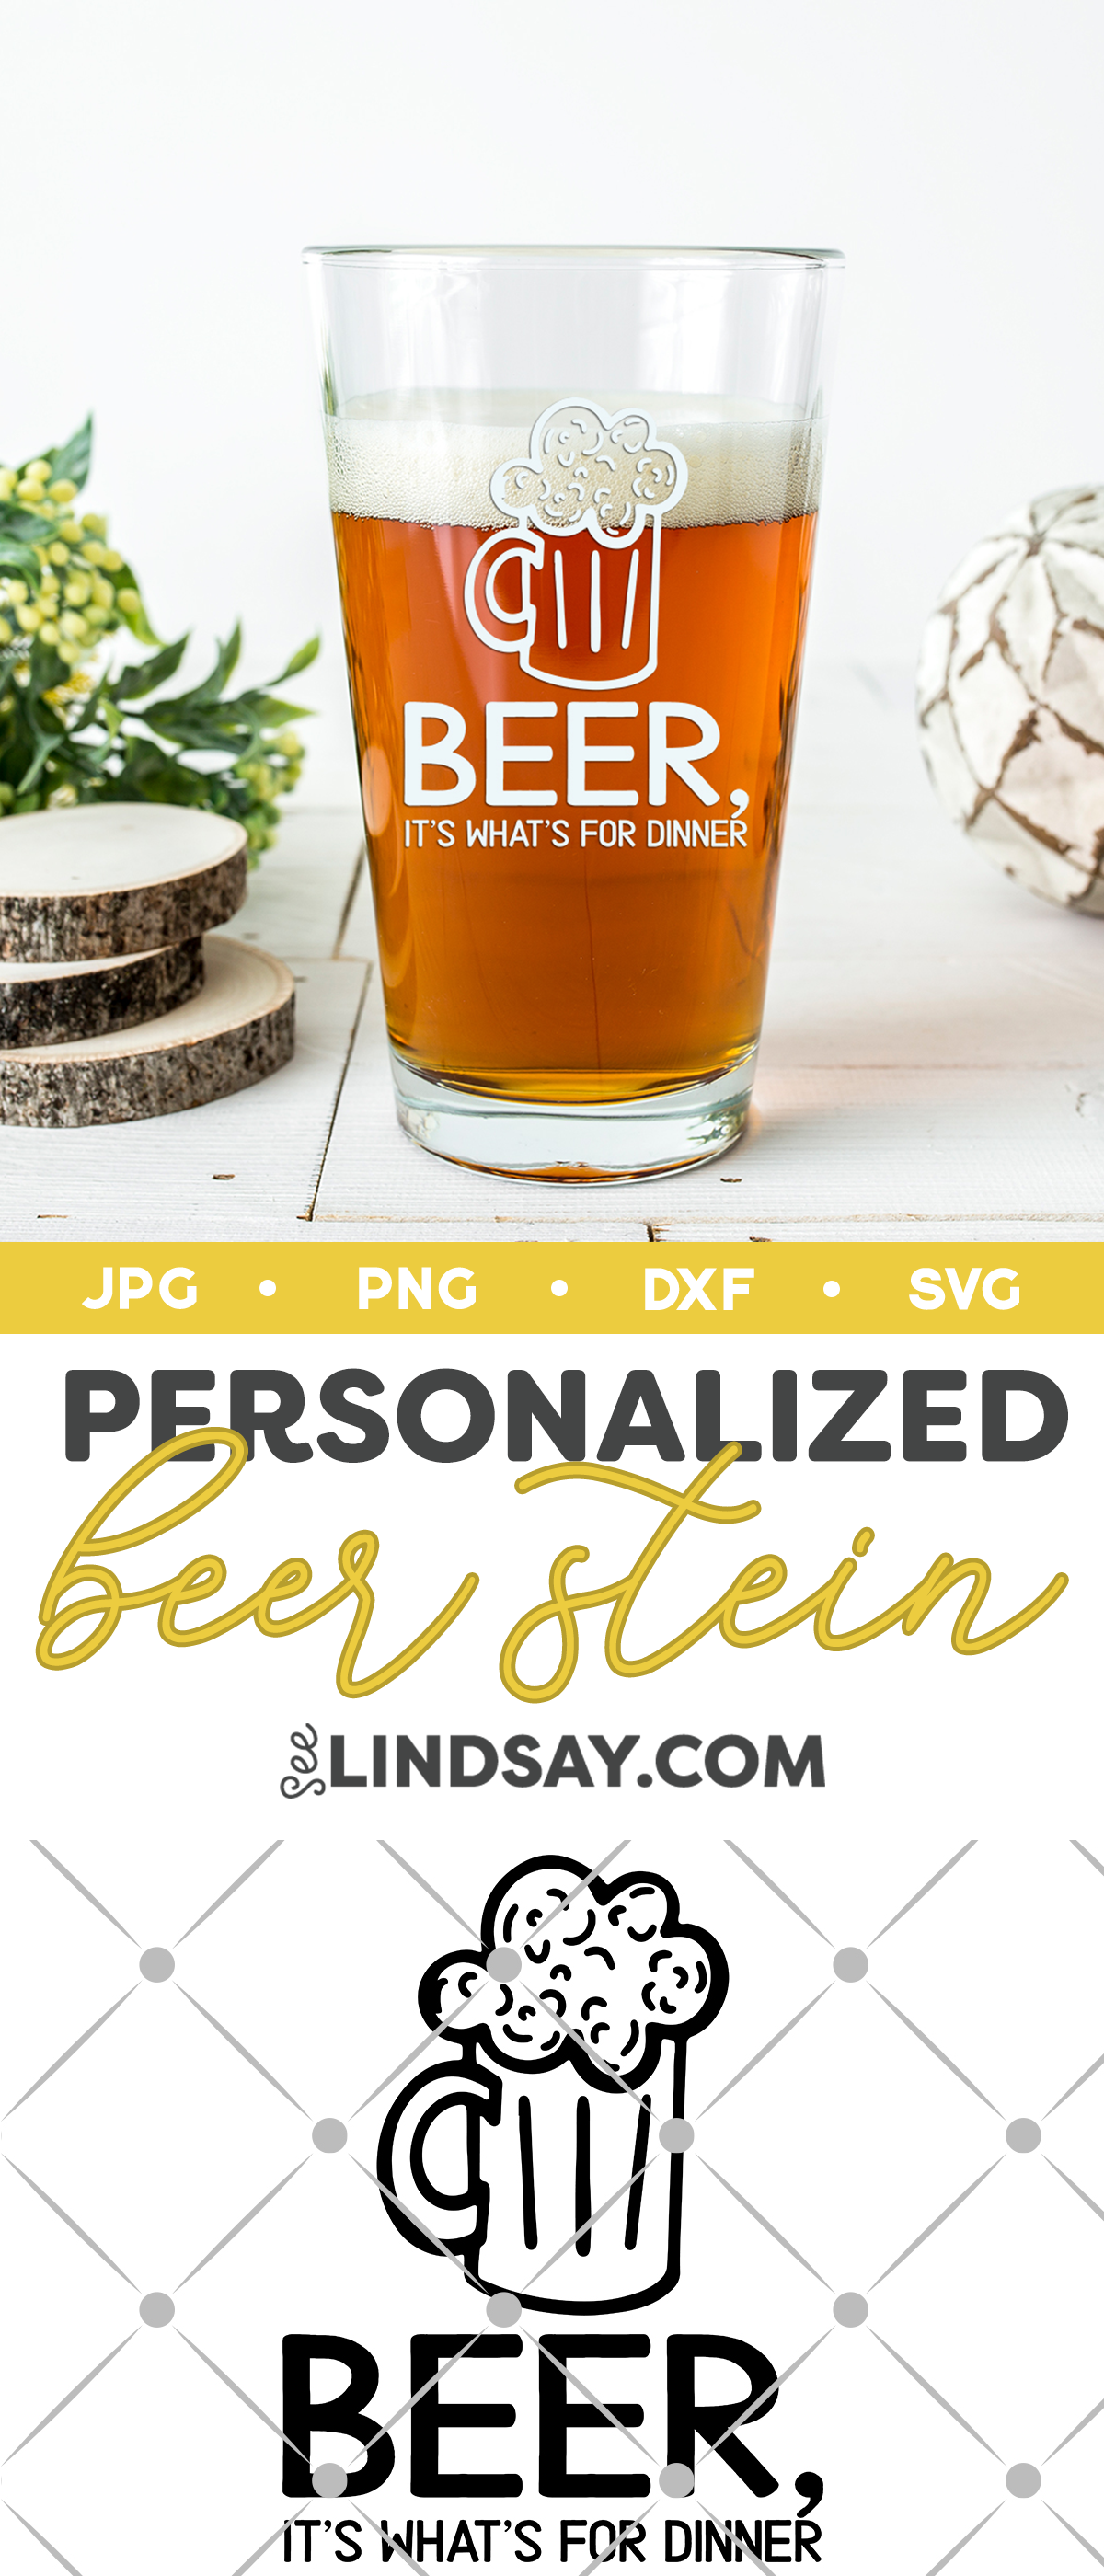
Beer, it's what's for dinner. Create this custom beer stein glass using this free beer SVG files and many more.

A lot of people love a good cold beer when they're eating dinner or just drinking for dinner is enough for some too. These cute beer designs can be cut using your Cricut or Silhouette machine and applied on a Dollar Store glass.
Supplies for your personalized beer glass
How to cut Permanent Vinyl (651 Vinyl)
- Prepare Your Vinyl
If you're cutting vinyl on a Cricut Machine, you'll need to cut your vinyl so that it fits on the mat. Most vinyl comes at 12″ wide so you will just need to cut your vinyl to size and then place it on your mat.
If you're cutting vinyl with a Silhouette machine, you can release the lever on the right side of the roller bar and adjust your tabs so that the vinyl will be fed incorrectly. You can use a roll feeder or the new Cameo 4 has a built-in roller so that you can cut up to 10ft. - Cut Your Image
In your design software, you'll size your project to fit your vinyl and then send the file to your machine to cut. You do not want to mirror your image when you're cutting permanent vinyl. Cut with the carrier sheet placed directly on the mat and the top of the vinyl show.
- Weed Your Image
Life is a little easier when you weed your image when it's still on the mat. Use a razor or scissors to cut away larger pieces as you're weeding so that your design doesn't get ruined. Start with the corner and remove the negative part of the design you've cut.
The dollar store carries a great dental pick, or you can replace the lead in a pencil with a straight pin as long as they're the same size. You don't need fancy tools but it really helps to have a variety so that you're never without. - Apply Transfer Tape
After you have removed all the parts of your vinyl that you don't want apart of your project, it's time to apply the transfer tape. There are a lot of versions of transfer tape but my favorite transfer tape is this one from Expressions Vinyl. It sticks to the vinyl and removes easily when you transfer your image to your final piece.
Start by peeling the corner of your transfer tape and lay it over your vinyl piece. It gets trickier the larger your piece so go slow. If you have a smaller piece, it's more forgiving and you can work faster.
Use a credit card or scraper tool to apply pressure over your vinyl cutout. Using lots of pressure means that you'll be able to lift it all in one piece. - Remove From Carrier Sheet
After you've applied to transfer tape to the top of the vinyl, it's time to peel it up and apply it to your final project.
Peel up slowly from the carrier sheet to make sure that all your pieces are stuck and they won't rip. I like to place my vinyl transfer tape side down and then peel backward. Use your weeding tool to help guide some of the pieces on to the transfer tape.
The longer your vinyl sits on transfer tape, the easier it will lift. It just needs a little time for the adhesive to adhere to the top but you can do it immediately too with just a little patience. - Applying Your Vinyl
Go slow and try just to have the transfer tape touch your final piece while you adjust your cutout. To me, this is the hardest part. If you have a large piece, it's helpful to have a second set of arms if you can.
Apply your permanent vinyl to the desired spot and then when it's where you want it, use the scraper tool again and rub. If you have a textured base, using a tennis ball or something similar to help get it into the grooves.
Peel your transfer tape off the project, again going slow and making sure that each letter adheres to your base.
You can reuse your transfer tape if you'd like or toss it. Having transfer tape when applying vinyl is a must. There are many things you can try and substitute as transfer tape but it's honestly worth every penny to have an excellent brand of tape.
More FREE Beer SVG Files
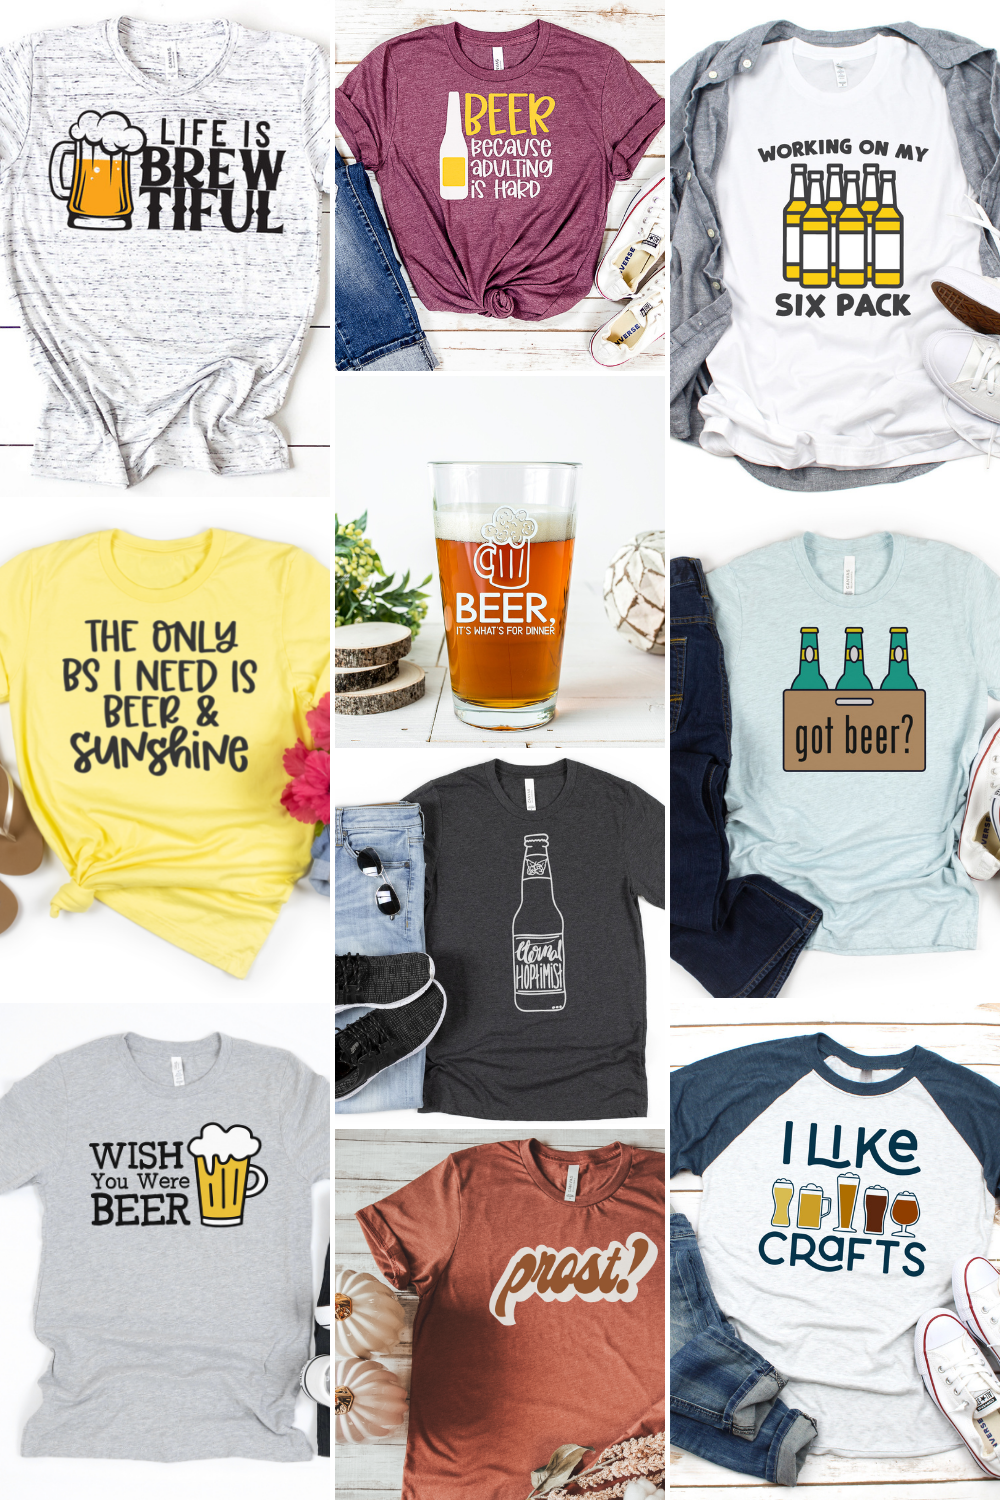
- Got Beer? – Hello Creative Family
- Wish You Were Beer – Happiness is Homemade
- Beer… Because Adulting is Hard – The Country Chic Cottage
- Prost – Everyday Party Magazine
- Beer and Sunshine – Kara Creates
- Working on My Six Pack – Hey, Let's Make Stuff
- Beer, It's What's for Dinner – See Lindsay
- Eternal Hoptimist – 30 Minute Crafts
- I Like Crafts – Mad in Crafts
- Life is Brewtiful – Artsy Fartsy Mama

- Free Coffee SVG Files – Boom! Roasted - October 5, 2021
- Free Beer SVG Files – “It's What's For Dinner” - September 7, 2021
- DIY Back to School Banner with Cricut - August 13, 2021
Michelle says
I can’t figure out how to down load this free SVG . There is no place to subscribe either. I’m trying to download the Beer it’s what’s for dinner SVG. Thanks
Lindsay says
There is a green box in the post. Once you subscribe it will take you to the file.