
Create these farmhouse coffee shelves and update them with milk paint. Easy process to do it alone. This post may contain affiliate links. Thank you for your support.
Today I am going to give you a sneak peek into my home. We are slowly, and I emphasize the word slowly, trying to go from gold tones to grey tones in this house. We had planned last year for me to return to work and buy a larger home, that didn't work out. You see, I have Fibromyalgia and it is rough a lot of the time for me. I am still adjusting to everyday life and trying to deal with this weird pain. Going back to work was not easy for me, so we decided that if we weren't going to move into a new home, then I was going to make this home the way that we wanted. Easy trade right? Nope! I've still had paint for a year that my husband hasn't touched. So in starting this blog, I will show you how we are going to transform this house.
So if any of you follow me on Instagram, you know that my husband and I had the opportunity to be in Costa Rica last week. It was awesome! We had the time of our lives and really won't have an opportunity like this for a long time to take a childless vacation. Now it's back to reality…


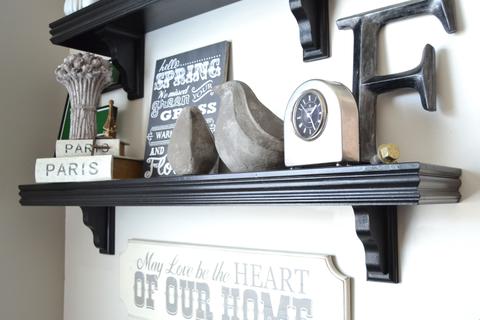
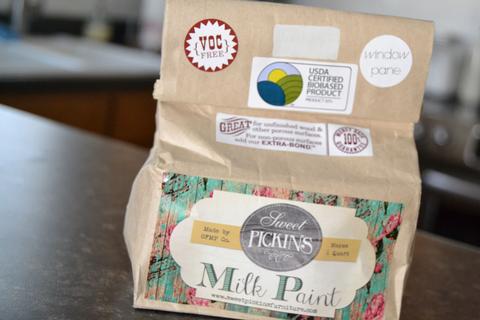
We built these shelves about 2.5 years ago using Shelley, from The House of Smiths, tutorial on her DIY chunky shelves. We had them painted black for some time but I'm looking to lighten things up in my life. While attending The Vintage Whites Market, I went to the Sweet Pickins Furniture booth. I grabbed the Window Pane milk paint color. It has a white look but with grey and blue undertones. I talked more with Sausha about mixing and took her small demonstration on how to paint your furniture. Since this paint was not sealed earlier, I didn't need to use the Extra Bond required on other furniture.
To mix, just use equal parts milk paint powder and warm water and put inside a mason jar. Shake really well to get all the clumps out. I let mine sit for about 15 minutes to get all the air bubbles out. The creamier the first coat, the better. I really should have taken pictures but this is real life! I don't plan that far ahead. It will have the same the same consistency as latex paint.
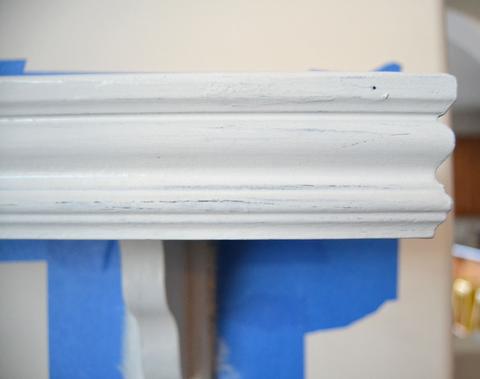
You don't want to use more than 3 coats of milk paint. I grabbed a few .30 cent brushes from my local hardware store and used 1 for each coat. I'm not going to worry about cleaning those out. You'll see that these are the shelves after the first coat of milk paint.

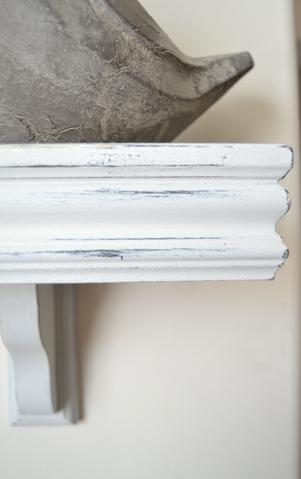
You can see the milk paint starting to naturally lift with each coat you use. After the first coat, let it dry for 2 hours and sand lightly. Continue with the other 2 coats with 2 hours in between each one. It's going to feel dry and you may think you can do another coat but wait it out. The smaller photo above shows before I did the final sanding. You can really tell where the milk paint will lift off. If you want more of a distressed finish, then keep sanding. This is pretty fail-proof.

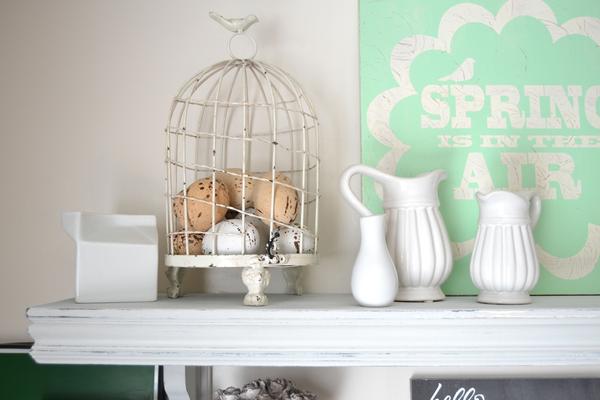
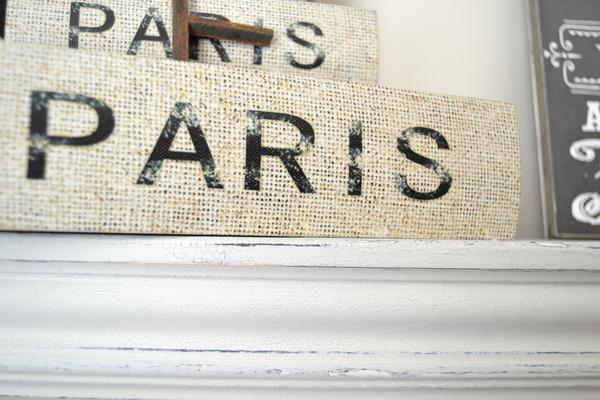
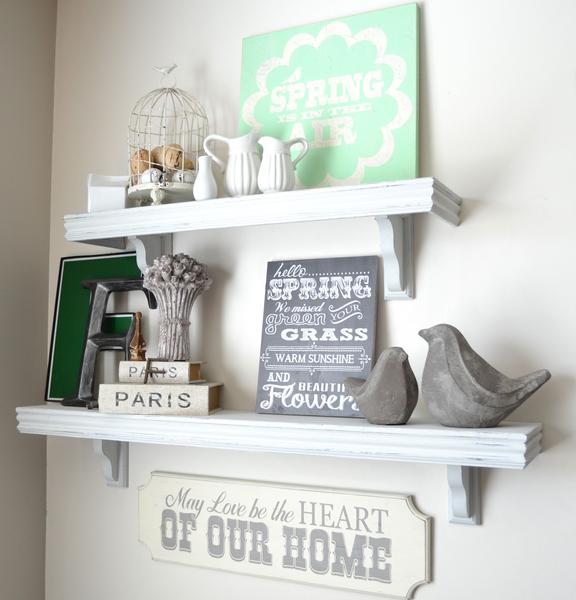
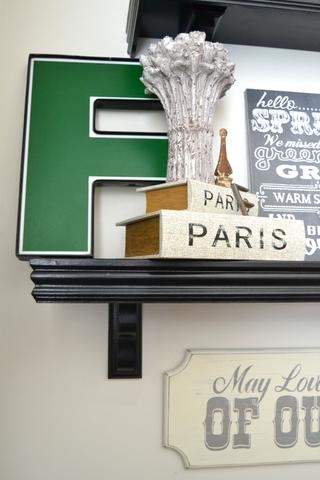
I love the chippy look that the milk paint gives. You can still see some black underneath with a little bit of the natural wood. This project was so effortless. It did help that I had the shelves done and those were pretty dang easy too. I love that these hold my Easter plaques from Poppy Seed Projects so well and some of my antique treasures paired with some new.
Don't be afraid to try something new. You may just love the results and start painting everything in milk paint.

- Free Coffee SVG Files - Boom! Roasted - October 5, 2021
- Free Beer SVG Files - “It's What's For Dinner” - September 7, 2021
- DIY Back to School Banner with Cricut - August 13, 2021


courtneybolling says
I had no idea this even existed! Thanks for posting! Super excited to try it out on a project for our master bedroom!! — Great Blog!!
Frenchie says
It’s the best. Thanks so much! Come back often! XO