
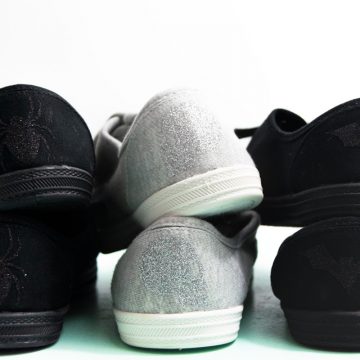
Did you know that you can easily cut Infusible Ink with your Silhouette Cameo? These spooky shapes cut perfectly using certain settings and these Cricut blanks. Create these easy DIY Halloween Pillows today.
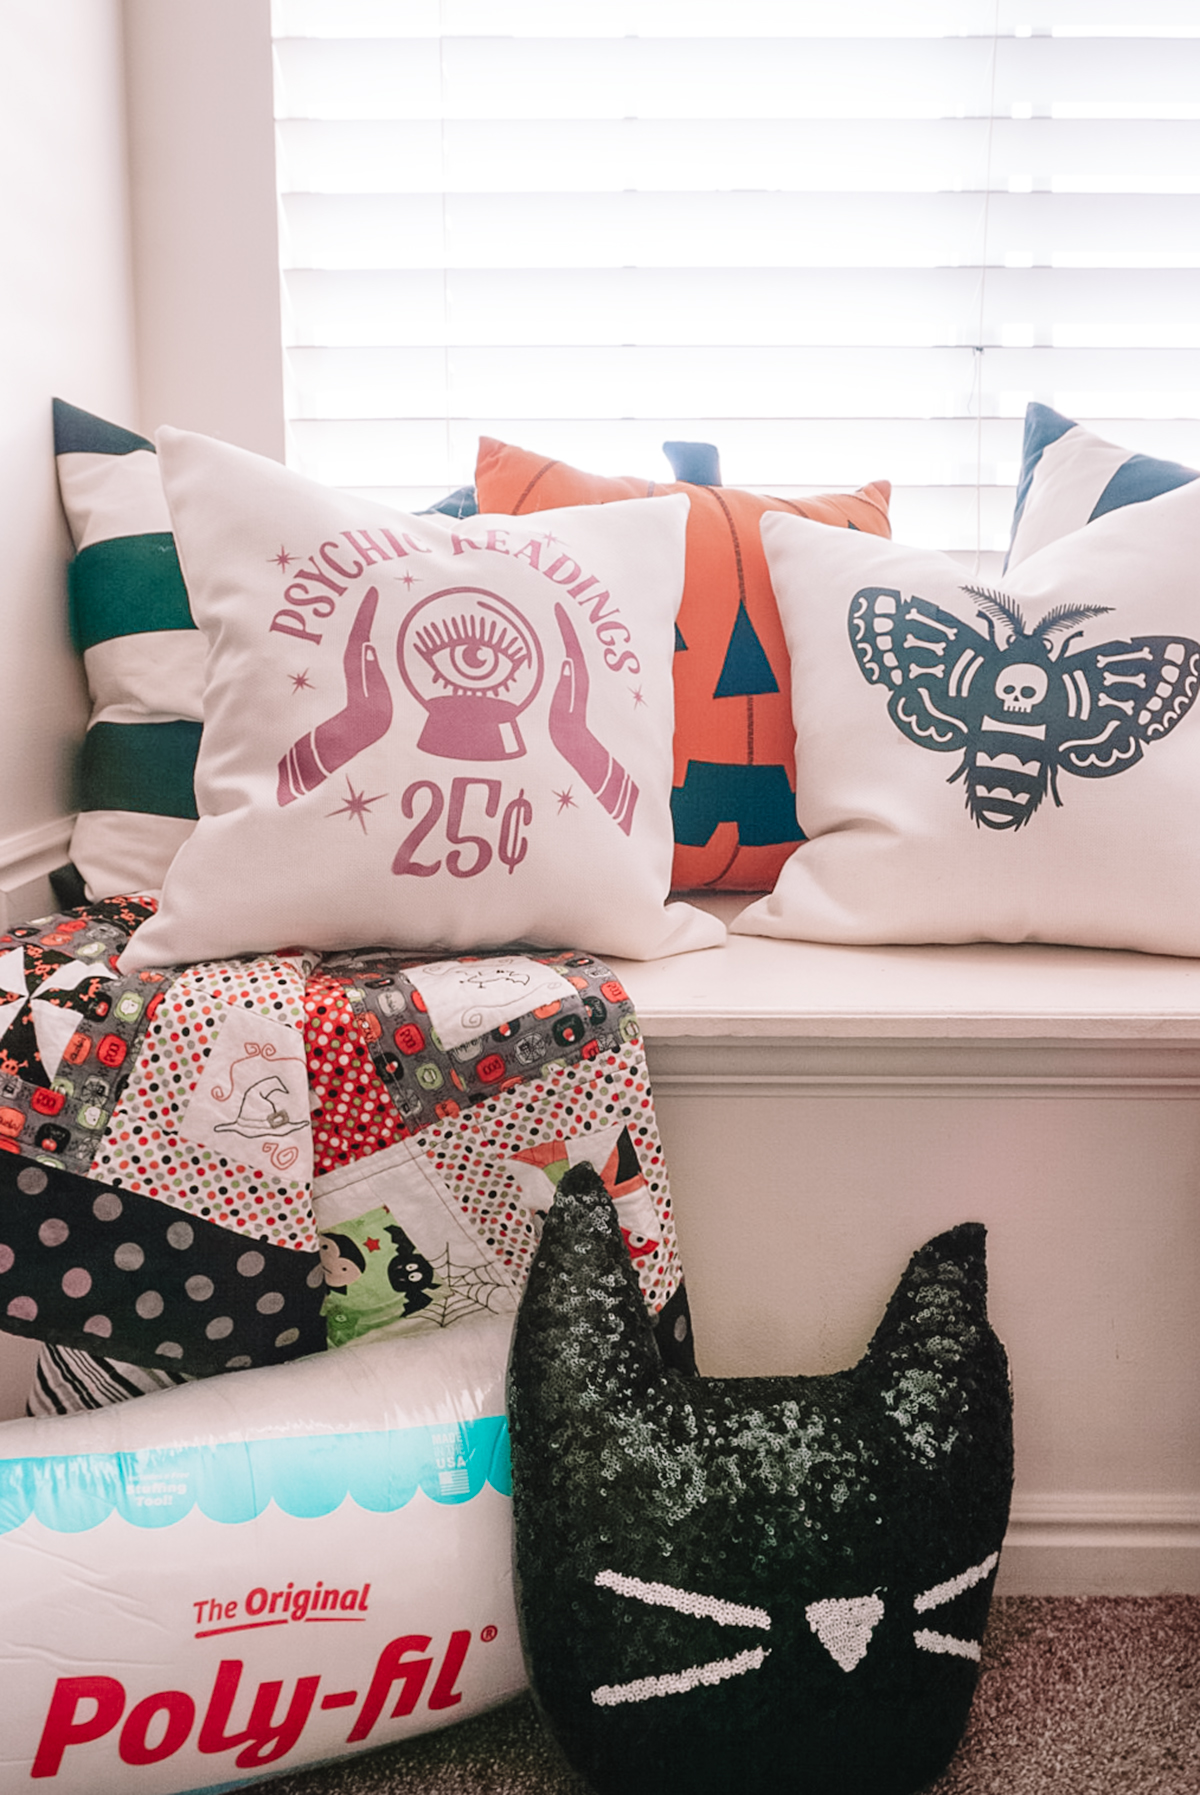
These pillows were so easy to create using my Silhouette Cameo and some Cricut Infusible Ink and their pillowcases. No need to whip out the sewing machine because these no-sew Halloween pillows are quick and easy to make.
Help me celebrate Poly-Fil turning 80 by creating these fun DIY Halloween Pillows.
Supplies for your Easy Halloween Pillows
- Silhouette Cameo
- Cricut Infusible Ink
- Cricut Infusible Ink Pillowcases
- EasyPress or Heat Press
- Poly-fil Fiber Fill
- Silhouette Studio shape #227639
- Silhouette Studio shape #227103

Can you Cut Infusible Ink with your Silhouette?
You can easily cut Cricut Infusible Ink on your Silhouette Cameo using these settings. I use the AutoBlade and a mat. If you choose to not use a mat, try cutting with less force so that it won't cut through the carrier sheet.
- Material – Custom
- Tool – AutoBlade
- Blade Depth – 6
- Force – 10
- Speed – 3
- Passes – 3
Do I mirror Infusible Ink?
Yes. You want to be sure and mirror your image before you send it to your machine. The color for the Infusible Ink is on the side that is cut, unlike traditional HTV. When you weed your image, you'll see the white backside just under the carrier sheet with the ink placed directly on your polyester blank.

Do I have to use Cricut blanks for Infusible Ink?
No! That's the best part but you do need to make sure that your blank has a high polyester count. If you're going to be using Infusible Ink on ceramic, you need to make sure it has the sublimation coating made specifically for these kinds of projects.
If you search for Sublimation Blanks on Amazon, a lot of choices come up and you can make a lot of fun projects using Sublimation. Follow the instructions on the Cricut EasyPress Interactive Guide and then when you're finished, lift.
If your Infusible Ink image hasn't completely transferred and there is still a little bit of ink on the transfer sheet, lay it back down in the same area and press for another 60-ish seconds. Try to only place the heat on that area only rather than your entire image.
I found these pillowcase blanks at Michaels but anywhere that sells Cricut should have these. I know there are some stores who have exclusive items but I don't think this is one of them.

how to assemble your diy halloween pillows
After you've pressed your design, it's time to fill. I love using Poly-oil because whenever my pills needs a good fluff, I can just reach in and pull the fibers apart again and it puffs right up.
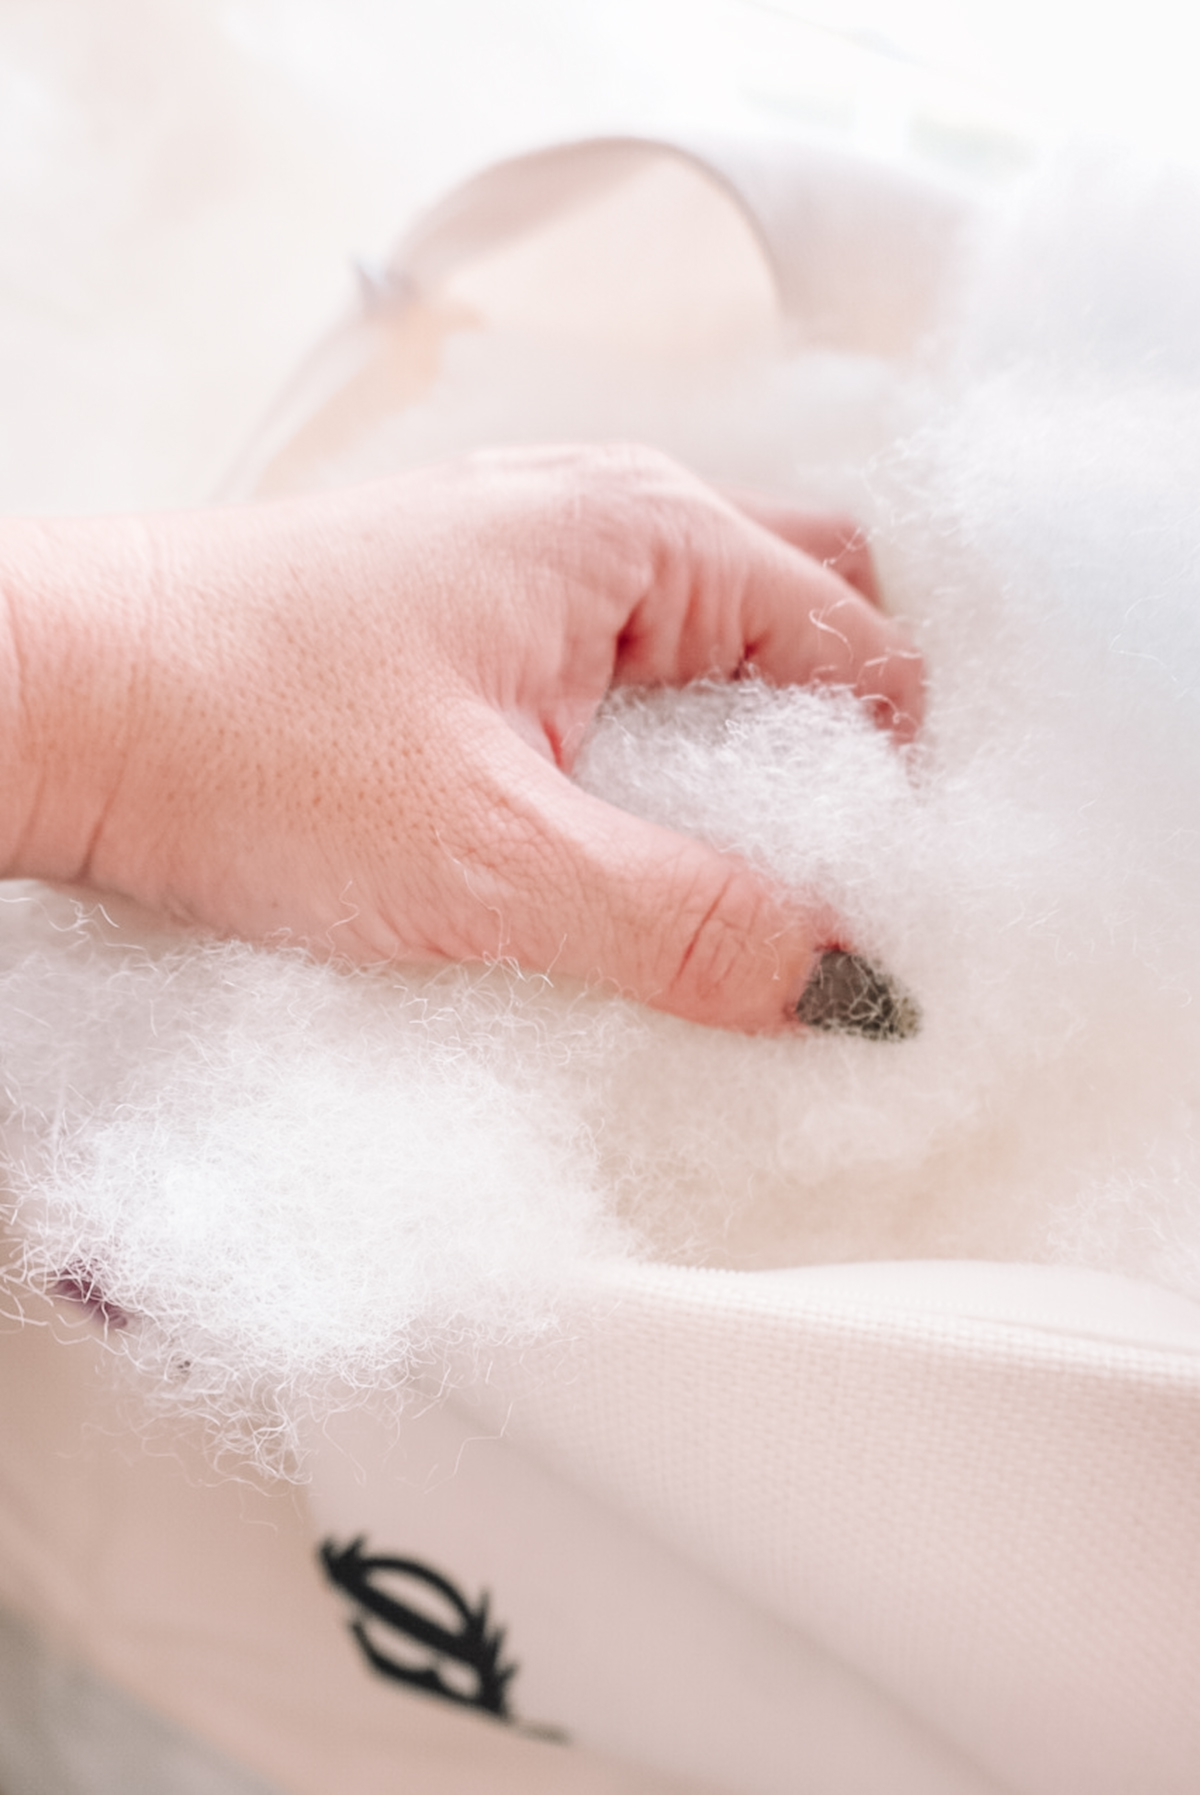
Be sure to stuff the corners as dense as you want it. You can use the tool that they give you or another blunt edge stick of some kind or even your finger if you want. Zip up your Cricut pillowcase and then place on your bench, sofa, window seat, whichever.

I love it paired with my stitched blanket I made years ago. You can also pair these pillows with my Spooky Eyeball Pillow I made out of wool felt and stuffed with more Poly-fil. I have so many uses for this stuff.


- Free Coffee SVG Files – Boom! Roasted - October 5, 2021
- Free Beer SVG Files – “It's What's For Dinner” - September 7, 2021
- DIY Back to School Banner with Cricut - August 13, 2021
Hey, Let's Chat!