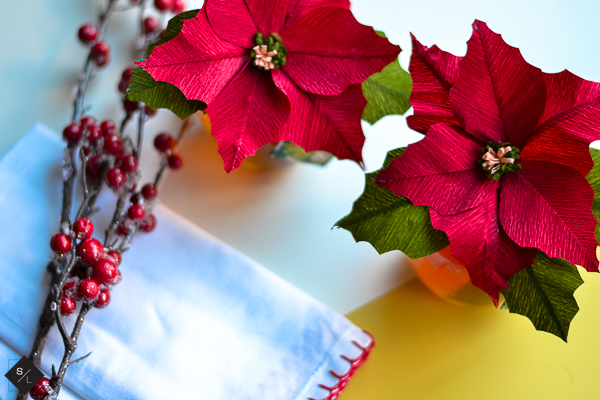
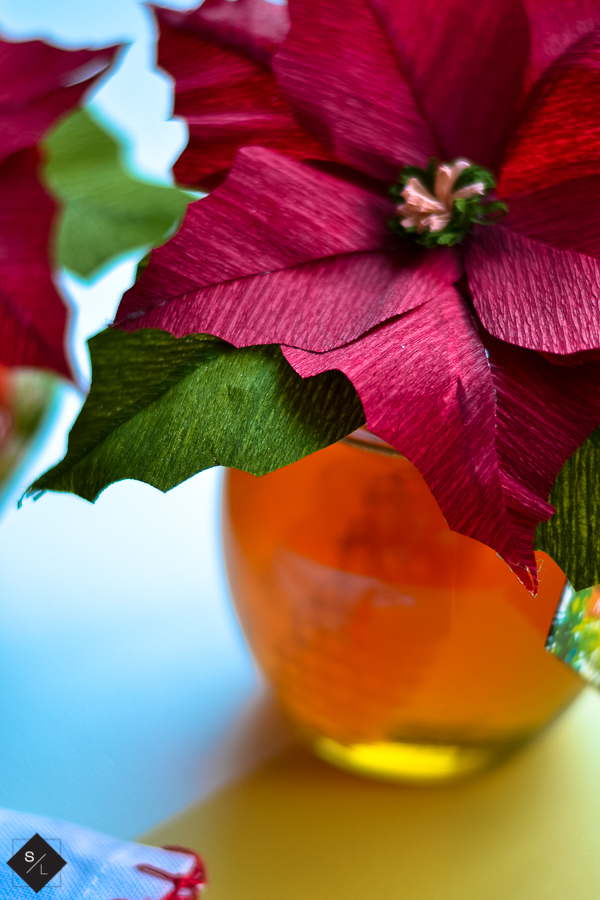
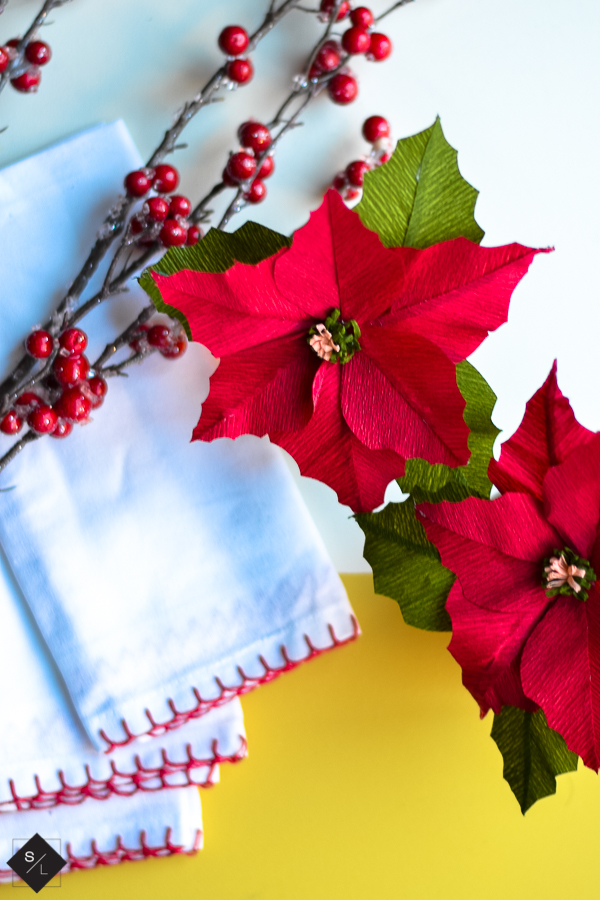
Learn all the tips and tricks I use to cut crepe paper with my Cricut. Create this unique gift packaging with your Don Victor® Orange Blossom Comb Honey Globe Jar by cutting a crepe paper poinsettia.
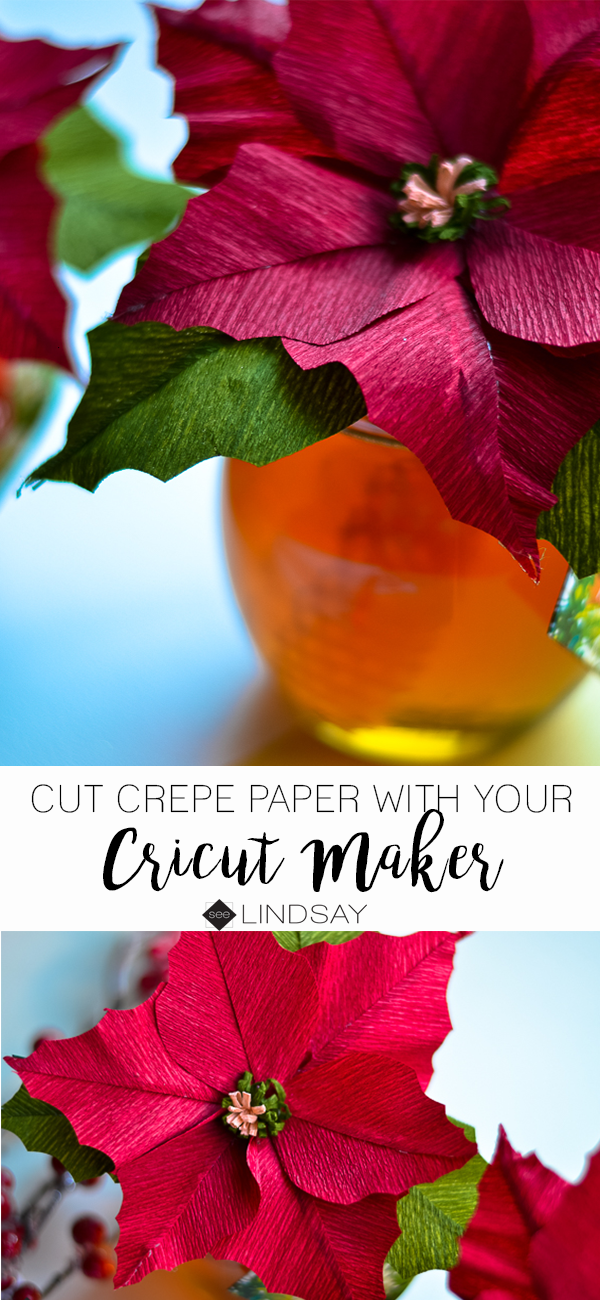
Making Crepe Paper Flowers with your Cricut Maker is easier than you can even imagine. I've learned a lot in the few years I've been doing this and so I want to share all my tips and tricks with you. Cutting Crepe Paper with your Cricut Maker is easy peasy once you get the hang of it.
Supplies needed to make Crepe Paper Flowers
- Cricut Maker
- Crepe Paper
- Fabric Grip Cricut Cutting Mat
- Brayer and Tweezers
- Cricut Maker Rotary Blade
- Floral Stem Wire
- Aileen's Tacky Glue
- Floral Tape
Where Can I Find Templates for Crepe Paper Flowers?
When using Lia Griffith's crepe paper flower templates, you need to have a membership to her site. I 100% recommend it even if you think you're only going to make one project right now. The site offers a lot of variety of paper flowers, felt flowers, felt stuffies, printables, basically a you name it, she's got it kind of site.
what tools do I need to make Crepe Paper Flowers?
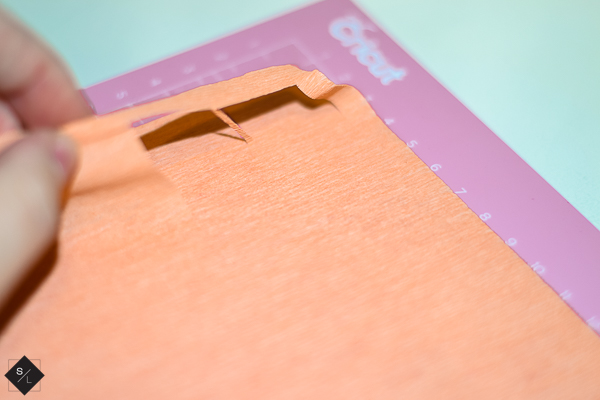
You need to use the fabric mat when you're cutting crepe paper with Cricut. I wouldn't say that if you don't have it, you can't do it but I have gotten much better results in terms of pulling off the crepe paper from the mat.
If your mat has too much tack, when you pull off the crepe paper, it will stretch and make the petal warped. Peel your mat away from the paper rather than pulling the paper off of the mat.
Using a brayer helps with adhesion and using the remover tool will help avoid getting oils on your mat. I recommend using those, but again, if you don't have them, don't feel like you cannot do this project.
When you place
The grain of the crepe paper is an important step. Lia has her files all shaped to have your flowers cut in the correct direction. Some Crepe Paper Flower shapes in Design Space are the same way. Remember to have the grain of the crepe paper going in a
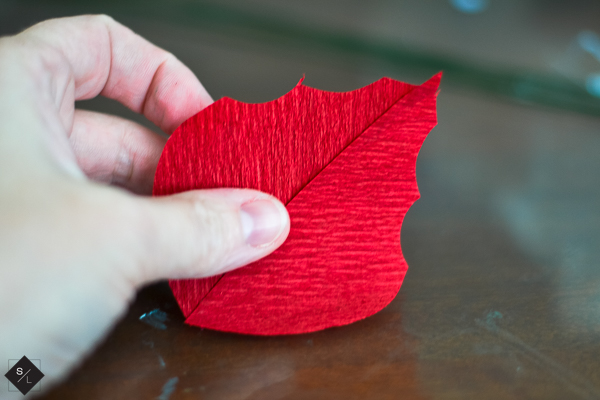
After you have cut your paper poinsettia petals, they will be cut in half. You can see that the petals cut on a diagonal and then when you adhere them together, they will form a complete petal that will stretch correctly.
Take your floral stem wire and dip it into the Aileen's Tacky Glue. The best way to do this is just to put it straight down into the cap and into the jar and then when you pull it out, it will have the perfect amount of glue on it. Take one half, then place your glued wire on the top of the straight edge and then lay your other petal half on top of the wire so your wire will be sandwiched.
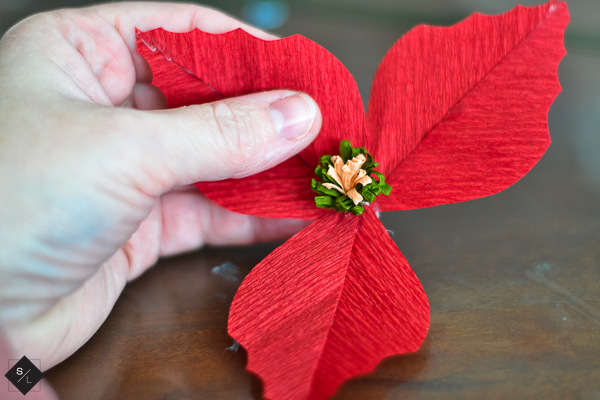
You will have three small petals and three larger petals along with two leaves and the centers. Use some Aileen's Tacky Glue and secure the middles in a bunched circle around the top of a floral wire. Start with the lighter color and then layer the darker color around the edge.
How Do I Use Floral Tape?
Now that you have all your petals assembled, it is time to adhere them all together. Take some floral tape and pull it apart, this will release the adhesive. Start with the middle and one smaller petal and wrap the tape around the wire using a couple passes. Add in the next smaller petal, wrap, and then another petal.
Continue to add the larger petals and the leaves and then finish the wire off by wrapping the entire length of the wire with the floral tape. As your wrapping your tape, you want to pull the tape apart but just enough to release some of the adhesive so it will secure to itself. Just tear it at the end and then press the end into the tape to hide the ends.
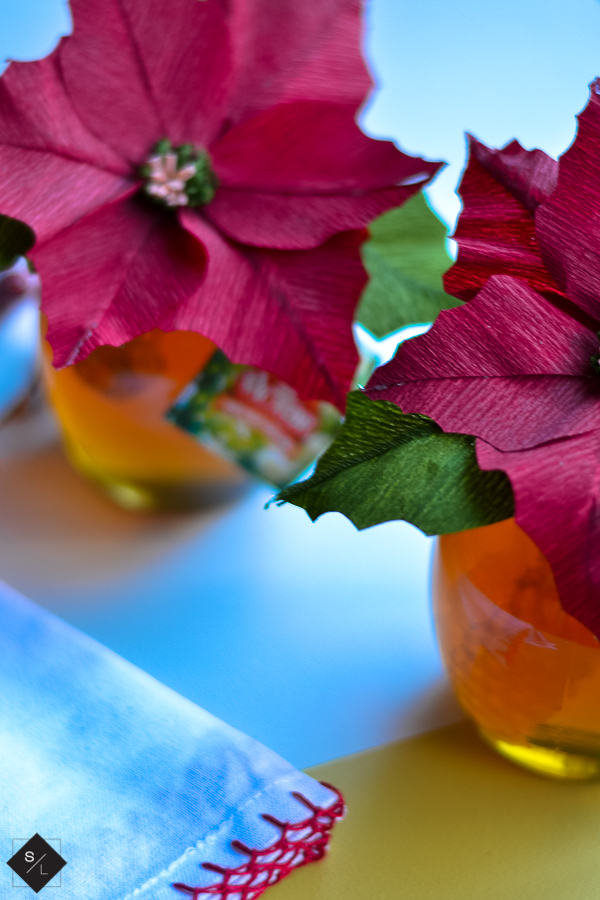
Use wire cutters if your stem is too long to cut it the length you want when arranging it into a group. For these gift toppers, I just cut them to be about 2″ in length and then hot glued them to the top of the jar. You can make them so you can tie ribbon around the lip and then place the stem in the ribbon.
Cutting crepe paper with your Cricut Maker is easier than you would expect. Check out some of my other crepe paper projects I've made using the Cricut Maker.
And some more of my favorites from my wonderful blogger friends.
- Free Coffee SVG Files - Boom! Roasted - October 5, 2021
- Free Beer SVG Files - “It's What's For Dinner” - September 7, 2021
- DIY Back to School Banner with Cricut - August 13, 2021





Joan Carnell says
Thanks for the helpful tutorial. Could you say what settings you used to cut the crepe paper? regards
Lindsay says
Joan, there is a setting in Design Space. I chose the crepe de chine (i think that’s how you spell it). It will automatically choose the rotary blade and that’s what you want to use. XX