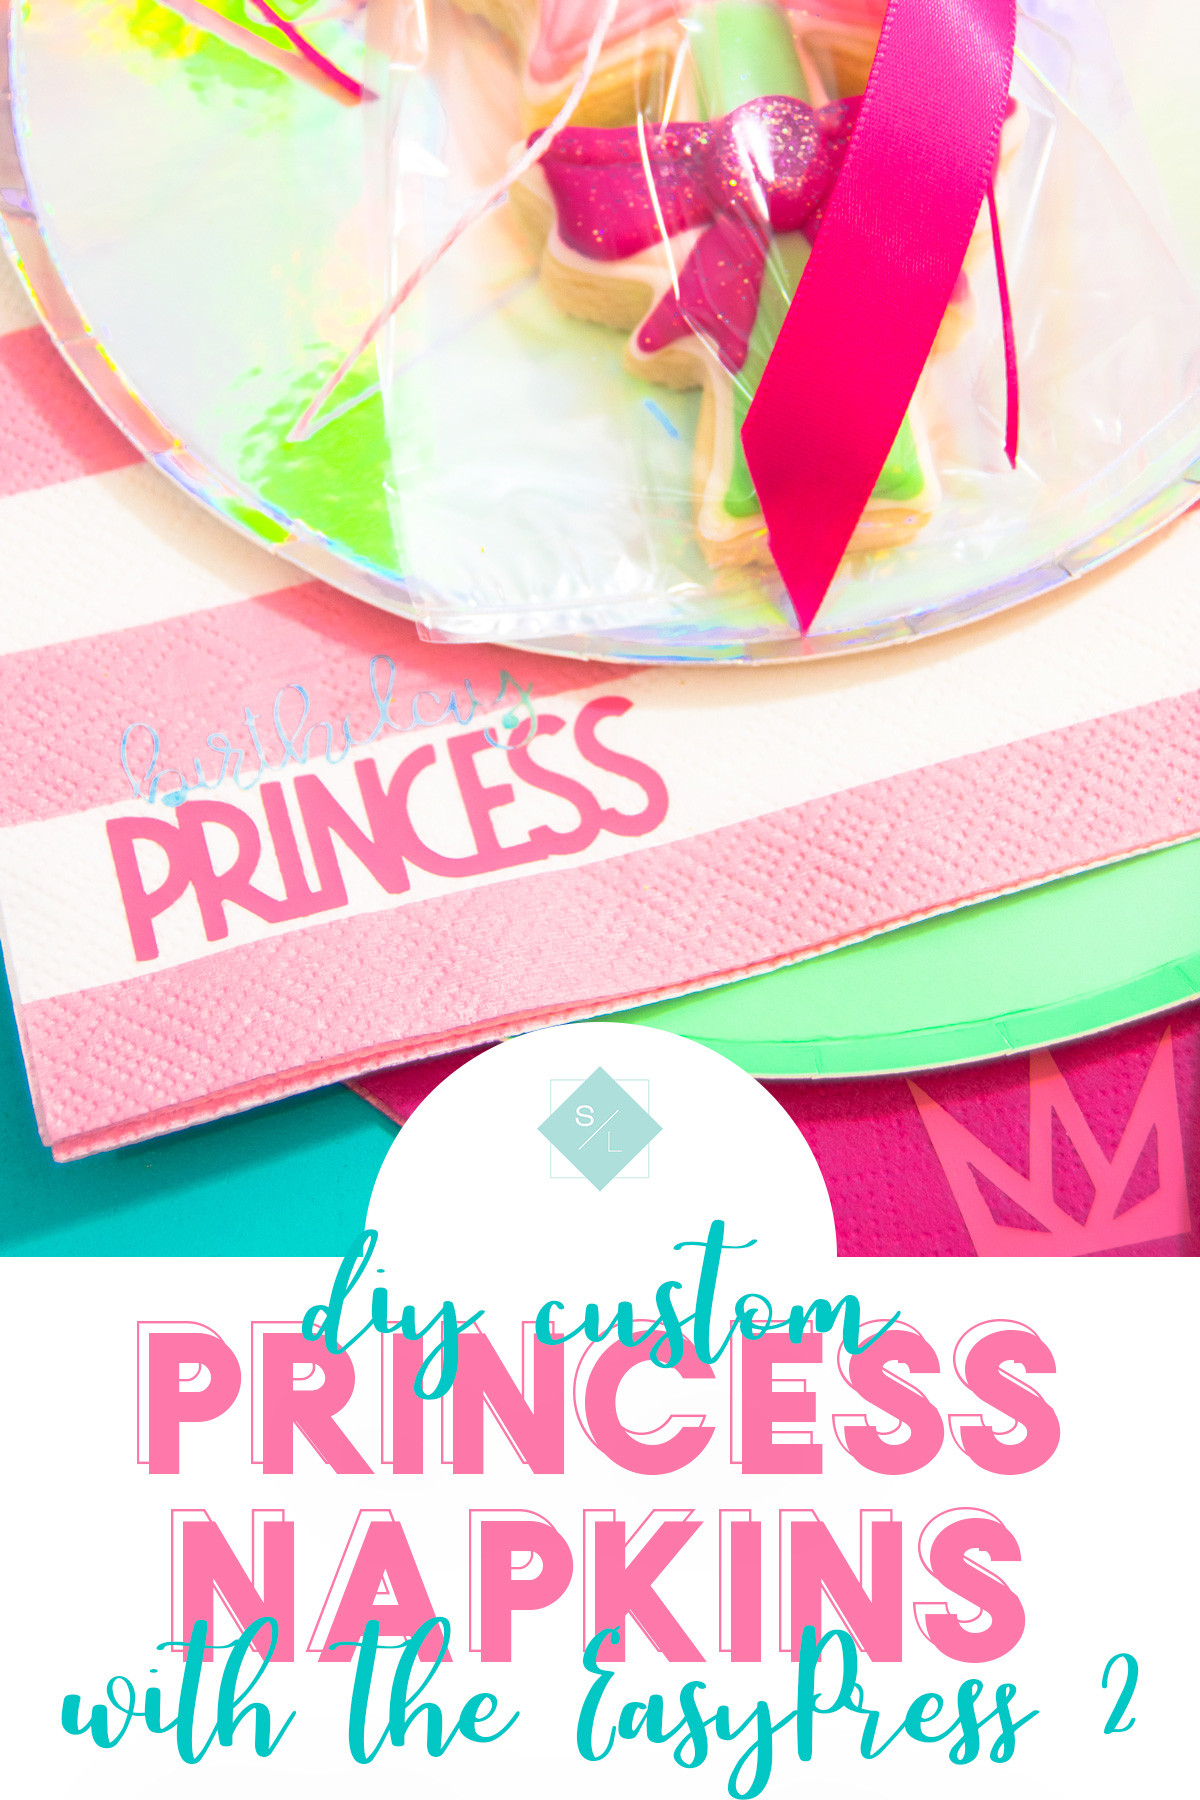
Did you know that you can make your very own custom printed napkins at home using the Cricut EasyPress 2? I got a chance to sample the 6×7″ EasyPress 2 and I can't say enough good things about it.
 This post contains affiliate links. Thank you for your support.
This past August, Cricut held an event called Mountain Make-a-Thon and it was so much fun to just be with other creative people making creative things with our Cricut. At the Cricut Mountain Make-A-Thon, they announced they were coming out with a new and improved version of their original EasyPress. This time the EasyPress 2 comes in 3 different sizes, 6×7″, 9×9″, and 12×10″.
This smaller EasyPress 2 makes it my third so I guess you can say that I've got some EasyPress experience. I love the small size and it's perfect for making your own custom printed napkins.
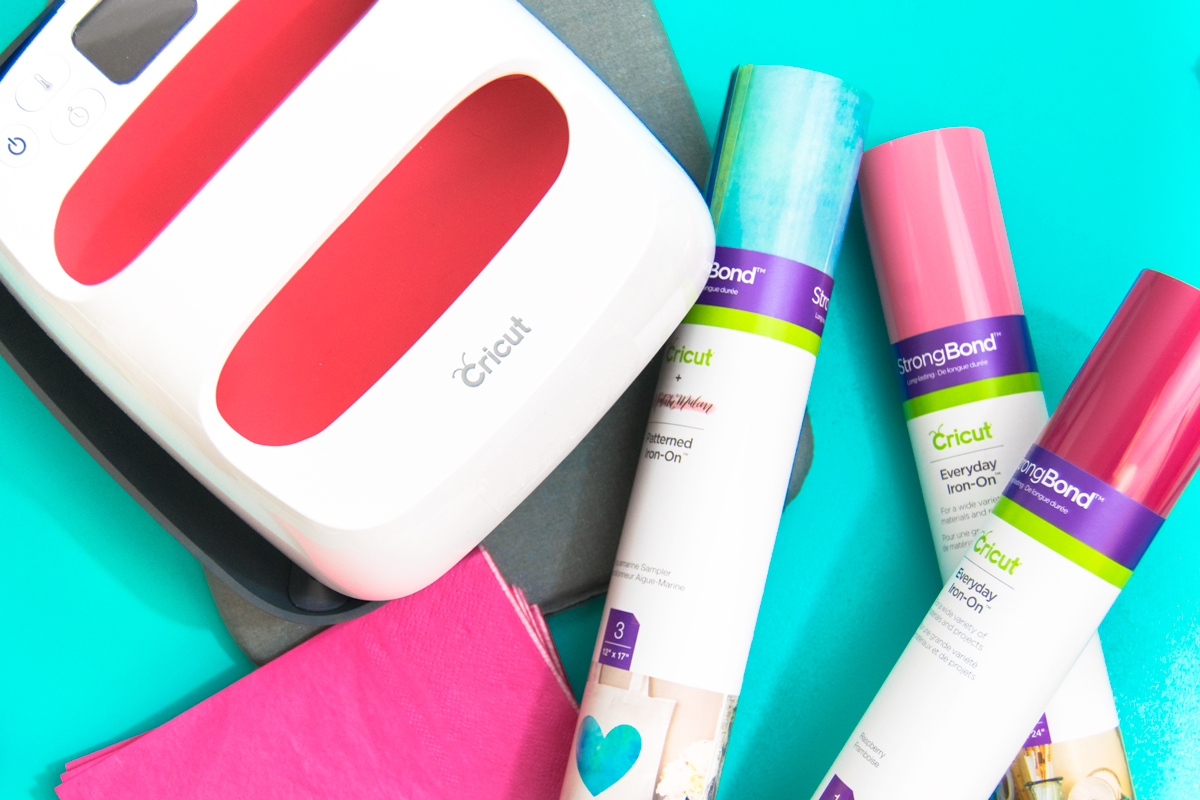
Supplies needed for custom printed napkins
- Cricut EasyPress 2
- Cricut EasyPress Mat
- Cricut Maker or Cricut Explore
- Princess Napkins Design Space File
- Everyday Iron-On
- Weeding Tool
- Napkins
 Can I use Iron-On Vinyl on Paper?
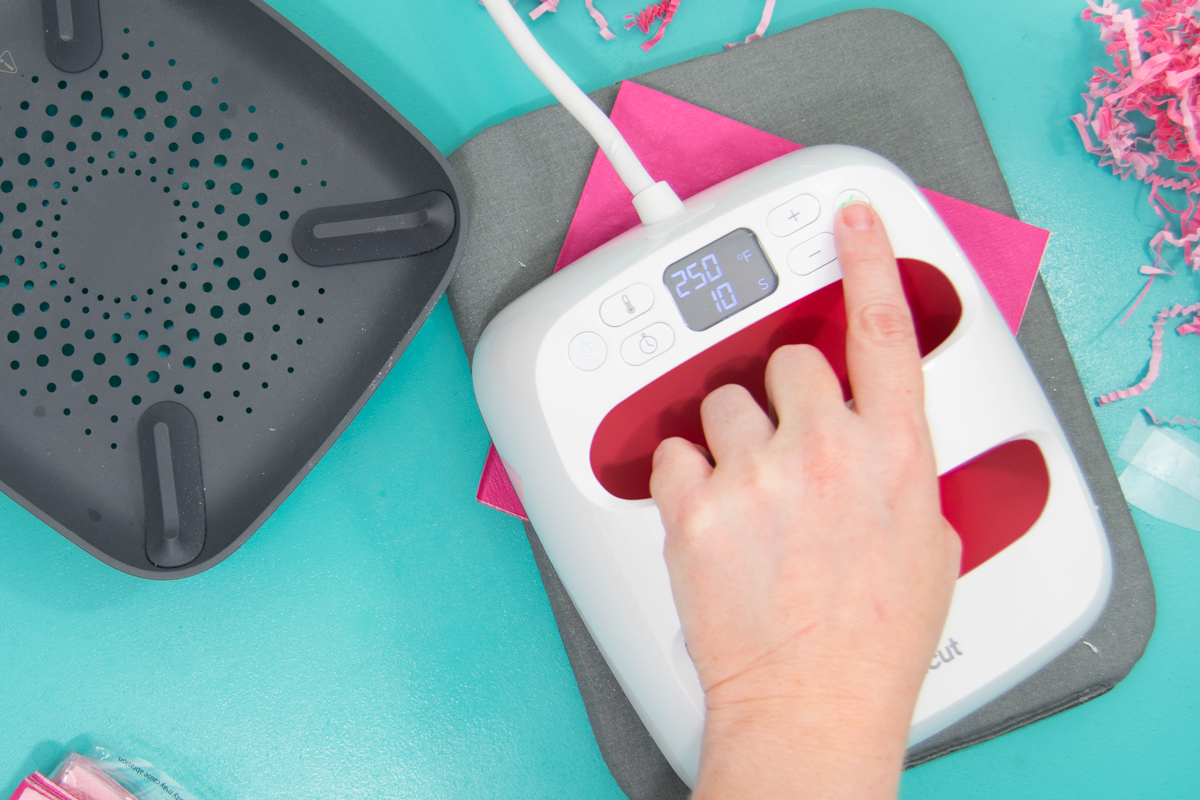
Absolutely, you can! You're going to want your setting to be around 250°F and press for around 10-15 seconds. Because these were napkins, I was able to use the new EasyPress Mat that is designed for the 6X7″ model. If I was using cardstock, I would want my EasyPress 2 and Mat to be larger than my paper so I don't make any dents in my paper project.
 How do you make Custom Printed Napkins with your EasyPress 2?
It's really simple. You're going to want to go into Design Space and create a file and be sure that it is sized to fit onto your napkin. Load your Everyday Iron-On into your Cricut machine and don't forget to reverse your image!
 What is the difference between Cricut Iron-On Lite and Cricut Everyday Iron-On?
Cricut has reformulated their old Iron-On Lite. The Everyday Iron-On is something that I noticed a huge difference in quality when I compared it to the Iron-On Lite. It releases easier from the carrier sheet and it gives you a better result. It also comes with the StrongBond Guarantee. Which means that if you use the Everyday Iron-On as instructed and you're not satisfied with the results, they'll replace it for free.

 How do I use the Cricut EasyPress 2?
This part is probably the easiest of this whole thing. You're going to want to weed your image and leave what you want to press on to your custom printed napkins on the carrier sheet.
Preheat your EasyPress 2 to 250ºF. The new EasyPress 2 heats up a lot faster than the original and it can now go up to 400ºF. Keeping your EasyPress 2 on the Safety Base is also important so that other items can remain protected.
Place your napkin on to the EasyPress Mat. Place your image on to your napkins and then press for 10-15 seconds. Remove your Everyday Iron-On while your image is still hot. Some HTV is a cold peel process so be sure to read all the manufacturers instructions.

This is a sponsored conversation written by me on behalf of Cricut. The opinions and text are all mine.
- Free Coffee SVG Files - Boom! Roasted - October 5, 2021
- Free Beer SVG Files - “It's What's For Dinner” - September 7, 2021
- DIY Back to School Banner with Cricut - August 13, 2021


 How do you make Custom Printed Napkins with your EasyPress 2?
 What is the difference between Cricut Iron-On Lite and Cricut Everyday Iron-On?
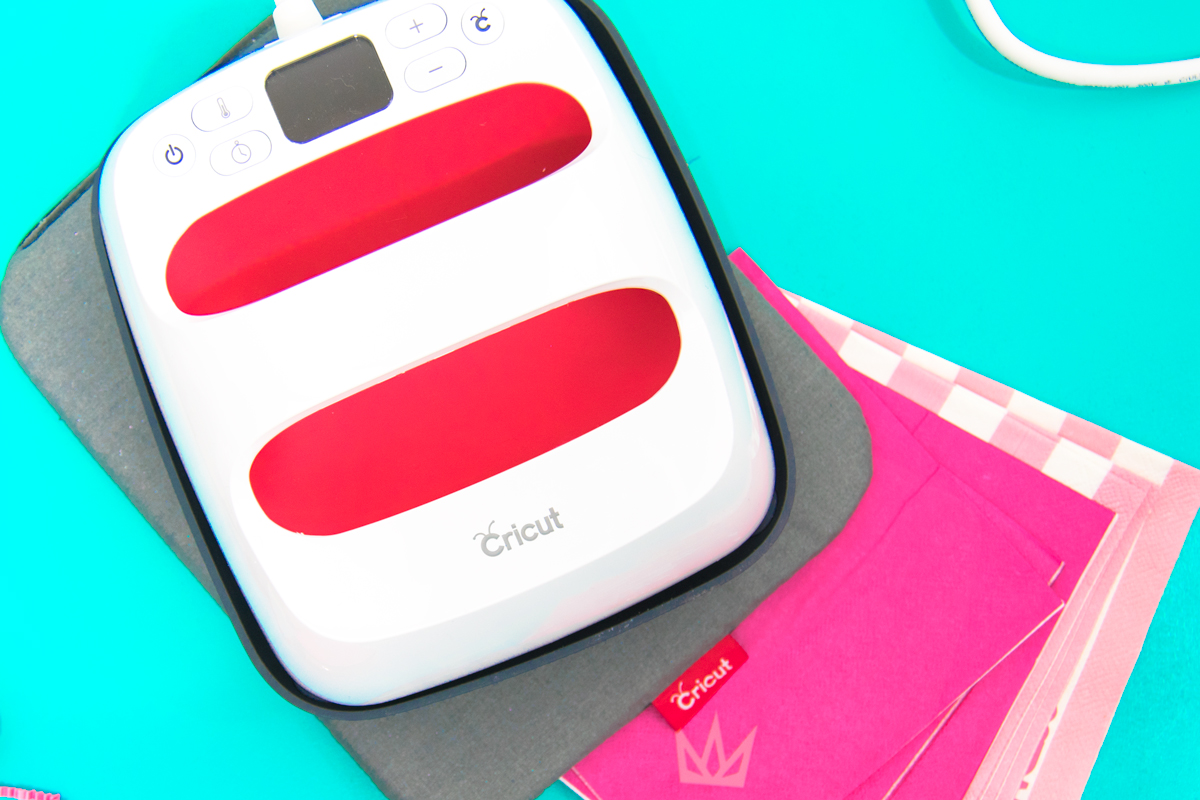
 How do I use the Cricut EasyPress 2?
Rebecca Brady says
Hi Lindsay!! I’m new to the Cricut experience, just got an Easy press 2 a few weeks ago and some additional tools today!! Would love to learn new creative projects!! Thank you!!
Becky