
Have you ever thought to make your own personalized wrapping paper? Learn how to make this A Christmas Story Wrapping Paper using your Silhouette Cameo and have no more pink nightmares.
Thank you to Silhouette for sponsoring this post. Be sure to check out other bloggers and their own Christmas gift wrap and gift tag ideas.
A Christmas Story is such a classic so I figured I'd use my Silhouette Cameo 4 and Silhouette Alta to create some custom wrapping paper in the theme of the movie.
I began by downloading a bunch of shapes by Amy Robison for the tags and the glasses. You're going to need the following:
Supplies needed for your Custom Wrapping Paper

This is seriously so easy! When you create your shapes, on the base of the tags is where to add the tab for the ribbon to thread through. Create a rectangle that is .5″x.75″ and then make a circle at .20″ for the middle. Select the base piece plus rectangle and weld. Now select the base shape and the circle and right click and select ‘make compound path'. This will slice out the circle for your tag.
Do that to all your shapes and then cut everything out using your Silhouette machine. You can use any Silhouette machine that cuts paper for the wrapping paper and paper tag aspects of this.
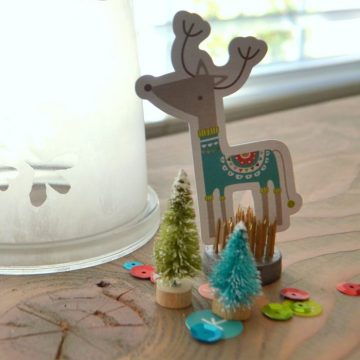
For the clay ornaments, follow these instructions to teach you how to make your own disc tags that will act as cute little toppers to your A Christmas Story gift tags. For these, I used my Silhouette Alta to create them but you can easily use some cookie cutters with embossing stamps.
How to use the Xyron Creative Station for your custom wrapping paper.
Now that all your shapes are cut, you'll want to run all the pieces except the base and lamp tassels through a Xyron Creative Station. These are not mandatory but it certainly helps to create small details without having to deal with wet adhesive.
The Xyron Creative Station basically takes your shapes and turns it into a sticker. To use a Xyron Creative Station, place the paper in the loading area (if you have small pieces, tweezers are really helpful) and then turn the handle. Your shape will come with the white sheet which is the adhesive and then a clear cover material.
When you have shapes with fine details, use a scoring tool or embossing tool, and go around all the edges. Xyron adhesive can pull up on those small details and make a tacky mess so using the embossing tool helps ensure that your pieces won't lift the adhesive where it's not supposed to be.

How to assemble your Christmas Story Gift Tags
Now we've learned how to use the Xyron Creative Station, it's time to assemble your gift tags. Follow the shape pattern that shows you in the Silhouette Design Store and put your pieces on top of one another.
For the Leg Lamp, I did use my pen adapter and used a thin marker to create the stockings on the leg and the lines on the lamp. I then took some adhesive that I had in a runner and added it to the back of the fringe. Then take your lamp topper piece and adhere it to the top.
For your soap gift tags, follow the design too, and then just place the letters onto the soap bar. For the Rifle gift tag, again, follow the design that Amy created to add the pieces on the back of the rifle and near the trigger.

How to Make Custom Wrapping Paper
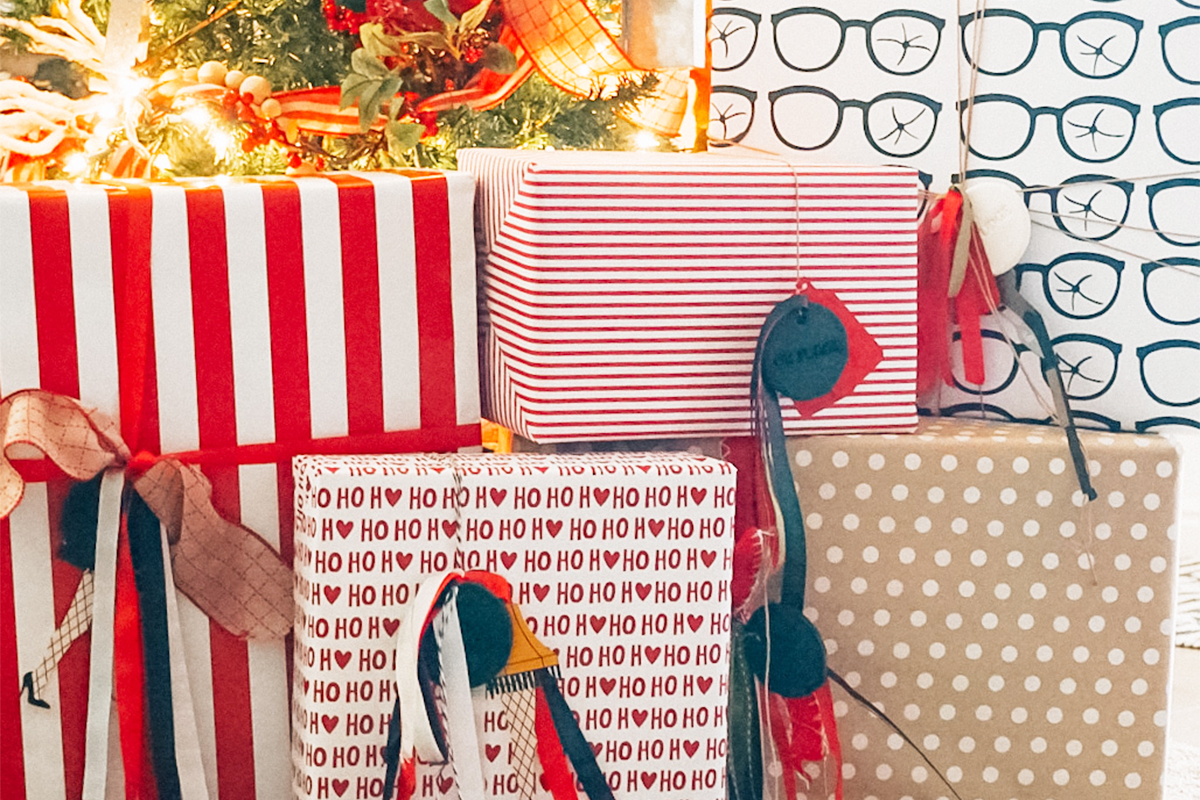
To make the A Christmas Story Wrapping Paper grab your white roll of wrapping paper. I have this roll and I use it for a lot of reasons but custom gift wrap is my favorite. Start with your eyeglasses and arrange them on your gift that you've already wrapped with the white roll.
Use the trick of the embossing tool on the shatters of the glasses and then remove them from your Xyron base sheet. Place them into the left side of the glasses to mimic Ralphie's broken glasses from his rifle. Just continue to wrap the glasses all around your gift and trying to end on the ends of the gift so that no one sees any missed continuity.
How to Attach Your Gift Tags to your Present
I love using bakers twine to use as a base and then I always add some small strips to the middle of the top knot so that it can bulk up the bow. I love the idea of junque bows and being able to use scraps of gorgeous ribbons and have no waste.
After you've wrapped the twine around the box, create a knot. Now thread your gift tag through the twine and then lay your ribbon scraps over the knot. Tie another knot so that it gathers your ribbon and tag and secure. When attaching your disc ornament, make sure not to tie too tightly because it can tear your model magic.
To get your own Silhouette America machine, head on over to Silhouette‘s site and be sure to use the code SEELINDSAY for lots of discounts.


- Free Coffee SVG Files - Boom! Roasted - October 5, 2021
- Free Beer SVG Files - “It's What's For Dinner” - September 7, 2021
- DIY Back to School Banner with Cricut - August 13, 2021
Hey, Let's Chat!