Create the perfect Fall Wreath by using your ClearSnap ClearBox pigment inks to add dimension to your crepe paper leaves.  This post contains affiliate links. Thank you for your support.
This is one of my most favorite projects I've ever made. I love that it's the perfect DIY Fall wreath for the Thanksgiving holiday and that I can switch it out with my paper Christmas wreath I made a few years ago on my Cricut. 
Supplies for your DIY Fall Wreath
- Foam Wreath Form
- Crepe Paper
- Floral Wire Stems
- Cricut Maker
- Cricut Rotary Blade
- Cricut Knife Blade
- Pink Cricut Mat
- Purple Cricut Mat
- Clearsnap ColorBox Cat Eye Queue Pigment Inks in Rainforest and Sweet Sixteen
- Ink Blending Tools
- Xyron Disposable 3″ Sticker Maker
- Cricut Chipboard or basswood
- Brown Iron-On Vinyl
- Cardstock
- Gold Spray Paint
- Cricut Design Space file for fall leaves
- Cricut Design Space file for the banner
How to make a DIY Fall Wreath
So begin by opening up the Cricut Design Space file for your Fall leaves. I bought the package of Crepe Paper from Lia Griffith and it's seriously the best stuff. I cut each color a total of 3 rounds on the mat so I was able to get 18 leaves in each color for my DIY Fall wreath. Use your Cricut Fabric Grip mat and the rotary blade for the crepe paper leaves.
After you've cut all of your leaves, you're going to want to assemble them using some floral wire stems. Dip the stems into some white craft glue, just straight down the nozzle and pull up. This will coat your wire in the glue and then you'll lay it on the seam of one leaf and then lay the other half on top so it creates one full leaf.

 I used an extra styrofoam round that I had laying around and placed each of the stemmed Fall leaves into it so it could dry. I allowed these to dry overnight so that when I used my ColorBox pigment inks, they wouldn't tear the fragile crepe paper.
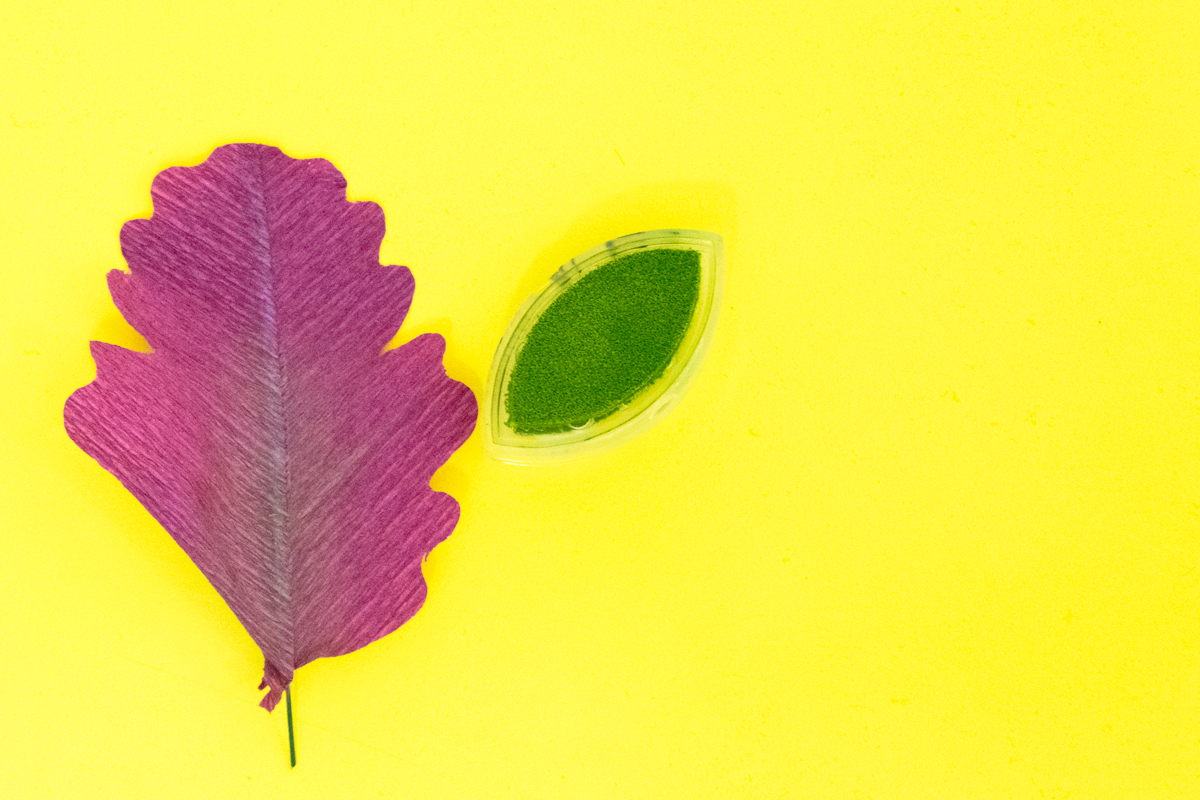
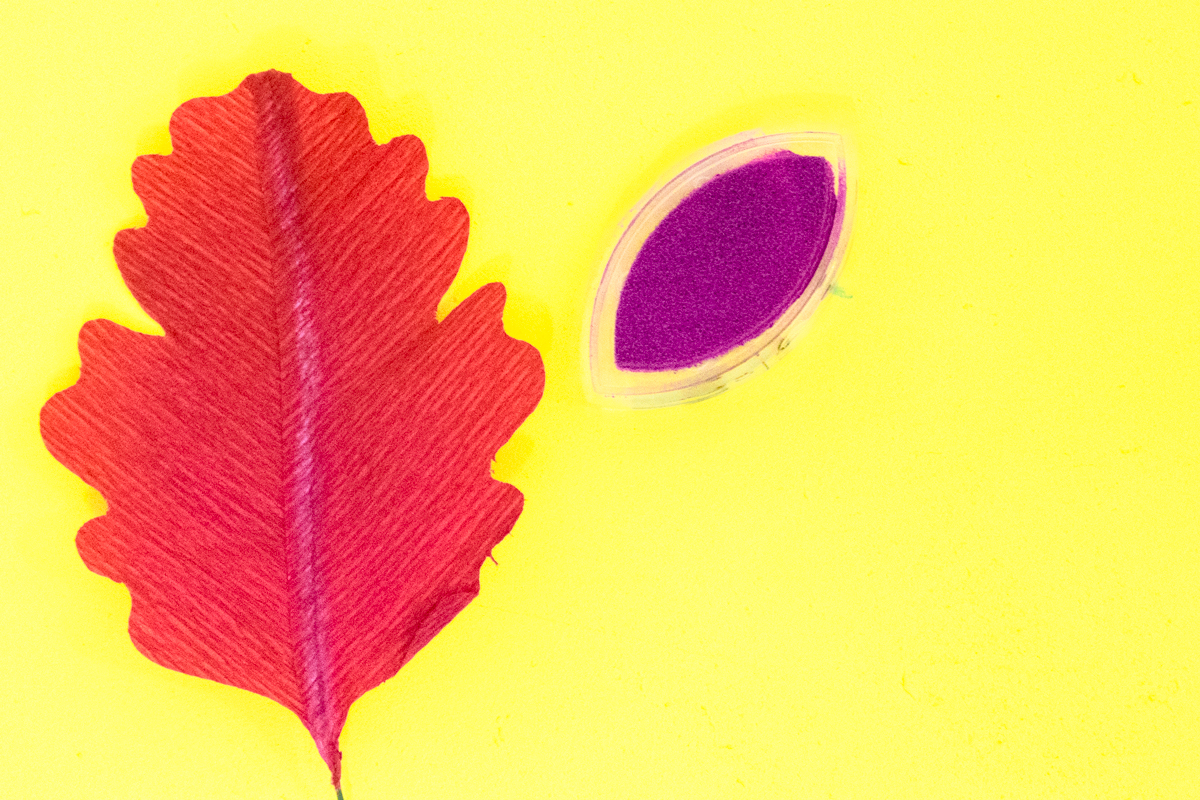
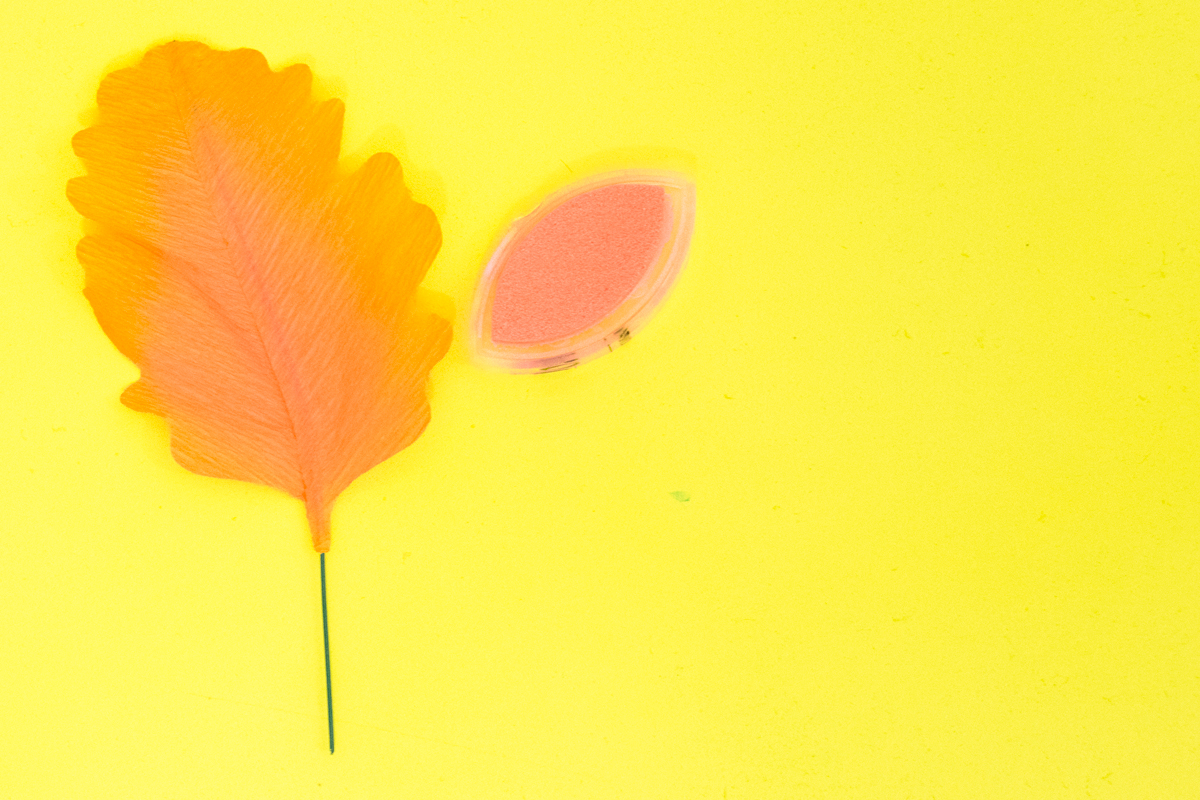
Use your blotter tool to dip into your Colorsnap pigment inks and then start from the bottom center of the leaves and work your way up and outward. Once your leaves are inked, slowly stretch the outer parts of your crepe paper leaf and bend your floral wire so that it looks like a leaf from nature.
How to assemble your Crepe Paper Fall Wreath
After your leaves are formed and you have your wreath base, go ahead and start with your lightest color and fill in the wreath having the colors form an ombre as you go around. There was a bit of white wreath from coming from my crepe paper Fall wreath. You can always make more but I just finagled my fall leaves so that they'd cover the form. 
How do I make a chipboard banner with my Cricut?
For the banner, you're going to cut your shape with the Cricut Knife Blade. Cut out both pieces of the banner with the chipboard. The base of the chipboard banner is like a puzzle and the top pieces of the banner will cover it. Spray the large chipboard piece with gold paint and set aside to dry.
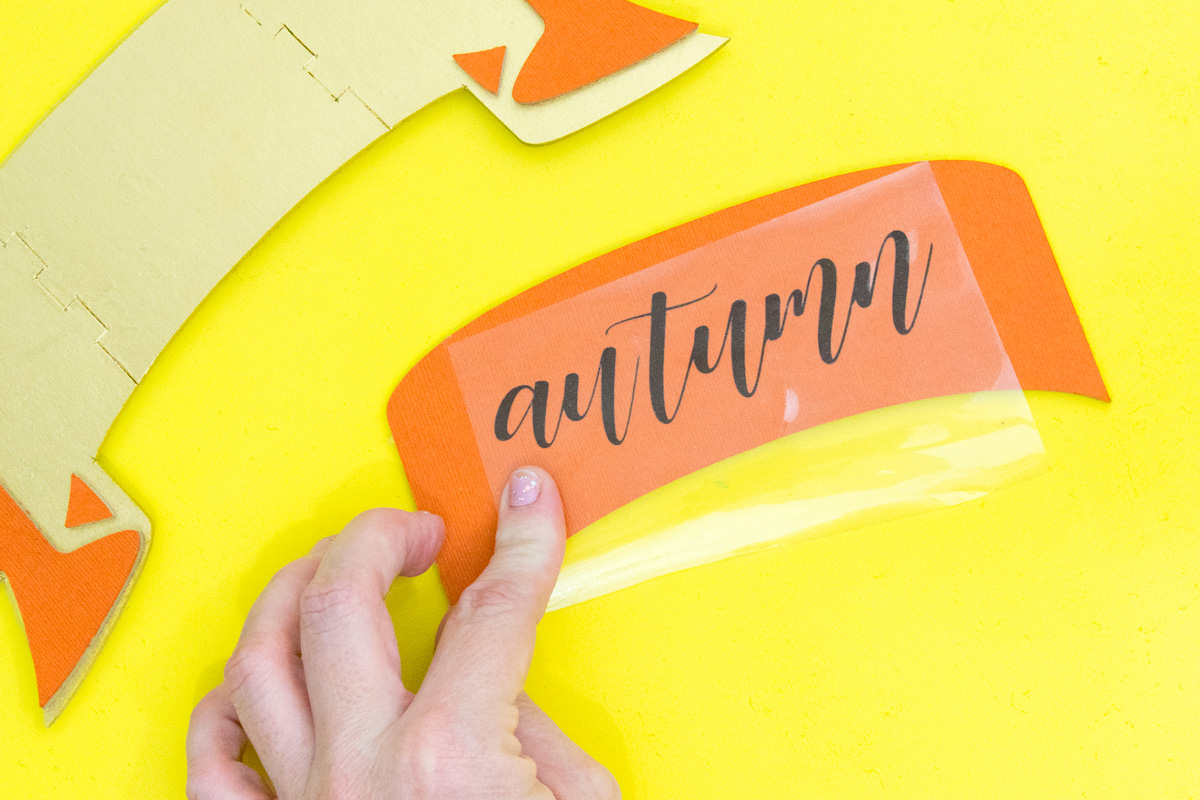
As that paint is drying, cut the orange cardstock just like the top piece of the chipboard banner. You will take the largest part of the cardstock and iron on the brown autumn words. I tried cardstock and the font was just too thin so Iron-On Vinyl was the perfect alternative.
Yes! You can use Iron-On Vinyl on cardstock or other paper products. See how I used it here on napkins. You need to have you EasyPress set at 250ºF and then press for 5-10 seconds. If you use an Iron for the HTV, just have your settings on low and press lightly so you don't crease your paper. 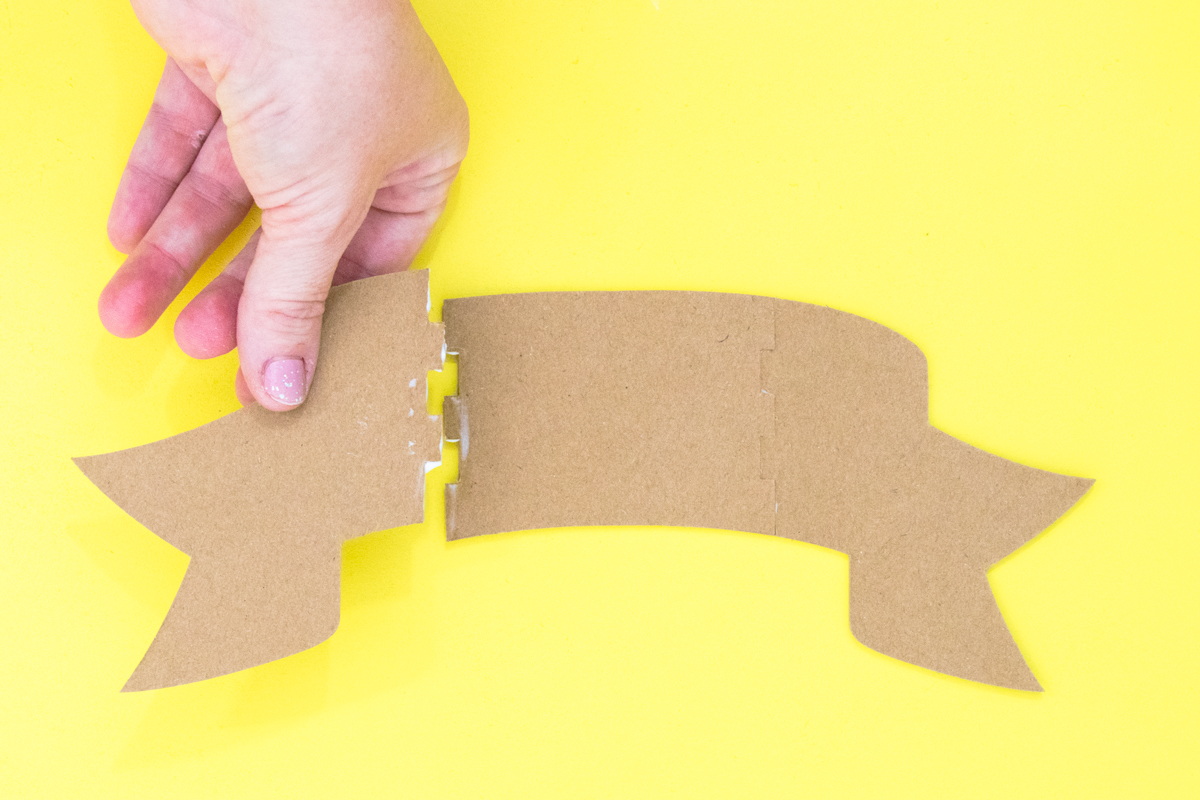

 Now run all the orange cardstock through your Xyron Disposable 3″ Sticker Maker Be sure to pay attention to putting the cardstock pieces in right-side up. Place the cardstock and then pull the Sticker Maker paper and the pieces will come out the other end as stickers!
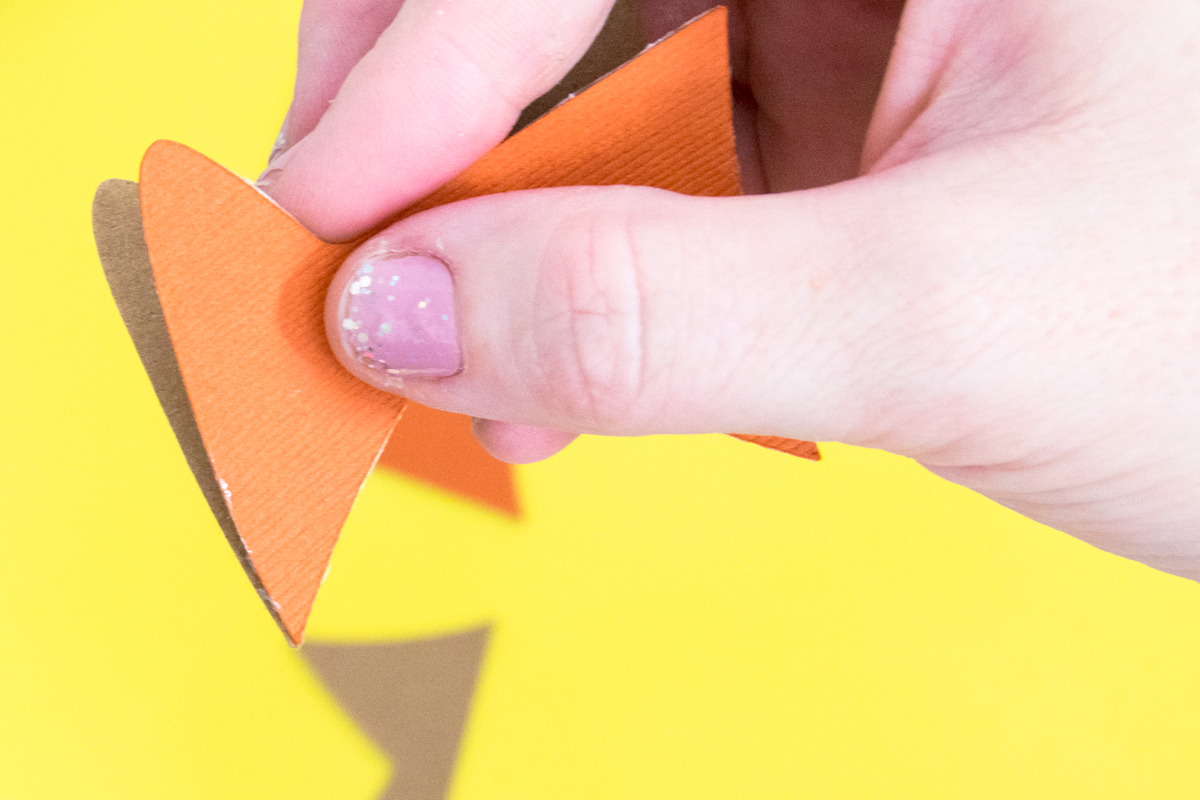
Adhere your cardstock pieces to the cut chipboard and set aside. Use some craft glue and use it on the small pieces of the chipboard banner to be placed on the long, gold chipboard. Use some clips or some kind of weight to be placed on the assembled chipboard banner.
Once that piece is assembled and dry, use some hot glue to just adhere it wherever you want on the wreath. 
How to make paper acorns
The acorns were really the easiest part. You'll just need some cardstock and craft glue. I used some shimmer cardstock in gold and brown. Cut the paper acorns with the Cricut machine. For cutting paper with the Cricut, you can use any Cricut machine. Start with one side of the acorn and then assemble the other and then glued them into one large 3D paper acorn.
They're almost like pumpkins. There is a small tab on each curve of the paper acorn and then you just place a dot of glue on those and then bring the next curved piece and adhere the small tab so that it will be on the inside of the paper acorn. 

- Free Coffee SVG Files - Boom! Roasted - October 5, 2021
- Free Beer SVG Files - “It's What's For Dinner” - September 7, 2021
- DIY Back to School Banner with Cricut - August 13, 2021